
Implemented automated software deployment using PDQ Deploy in a Windows lab environment simulating enterprise IT operations to to streamline application installation and updates across multiple domain-joined systems.
Environment: Windows Server, Active Directory, PDQ Deploy
Key Tasks:
- Monitored deployment status and troubleshot failed installations
- Installed and configured PDQ Deploy on a secondary server
- Created deployment packages for common applications
- Deployed software to multiple domain-joined machines
Implementation Details
To avoid overloading the domain controller (CW-DC01), PDQ Deploy was installed on a secondary server (CW-SV02), enabling better workload distribution and system performance.
PDQ Deploy was installed and configured on CW-SV02, allowing centralized management of software deployments across domain-joined machines. Deployment packages were created and tested to ensure successful installation and consistency across systems.
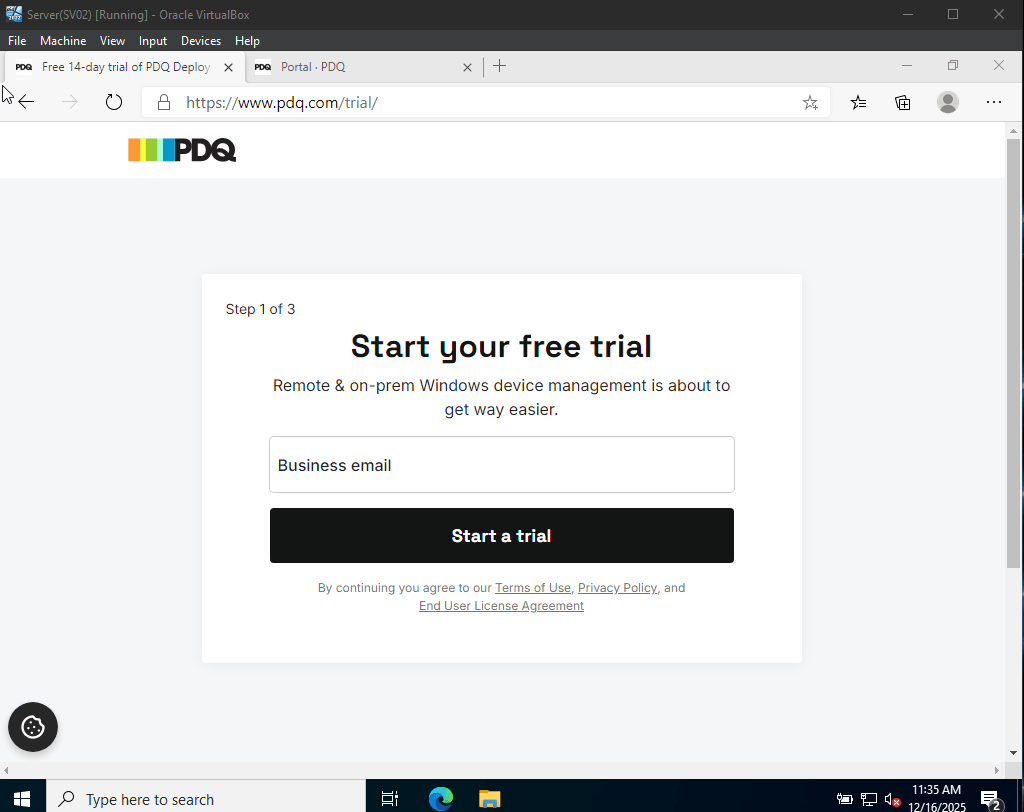
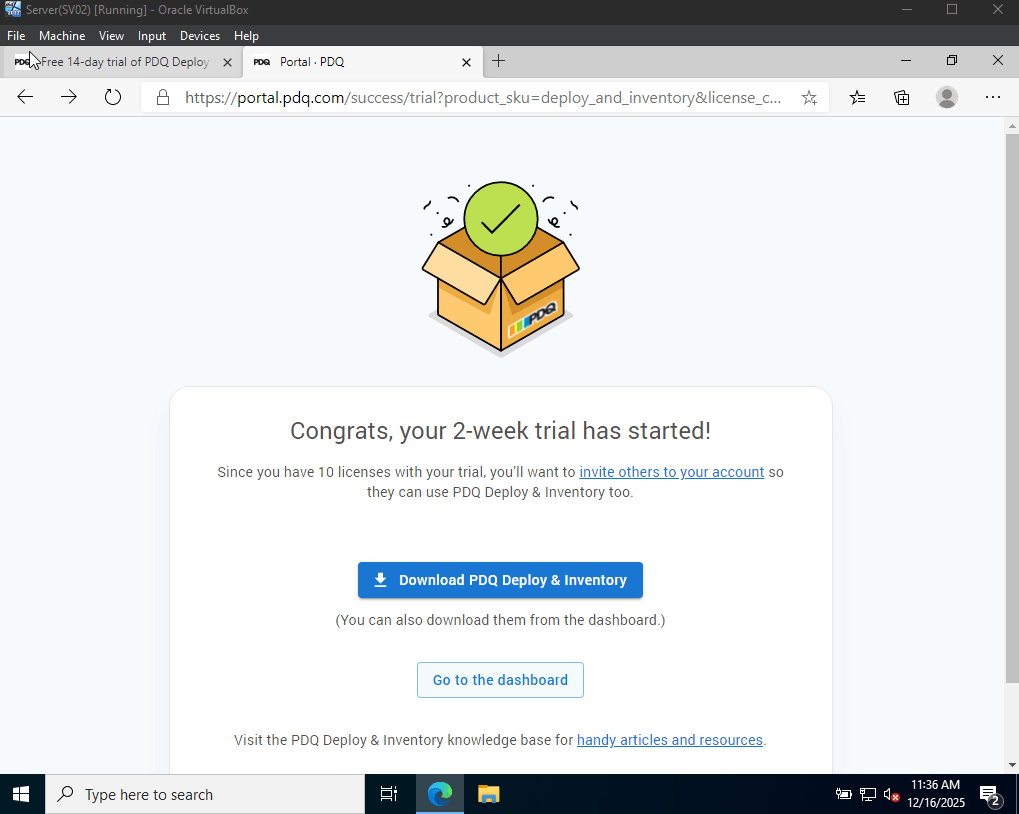
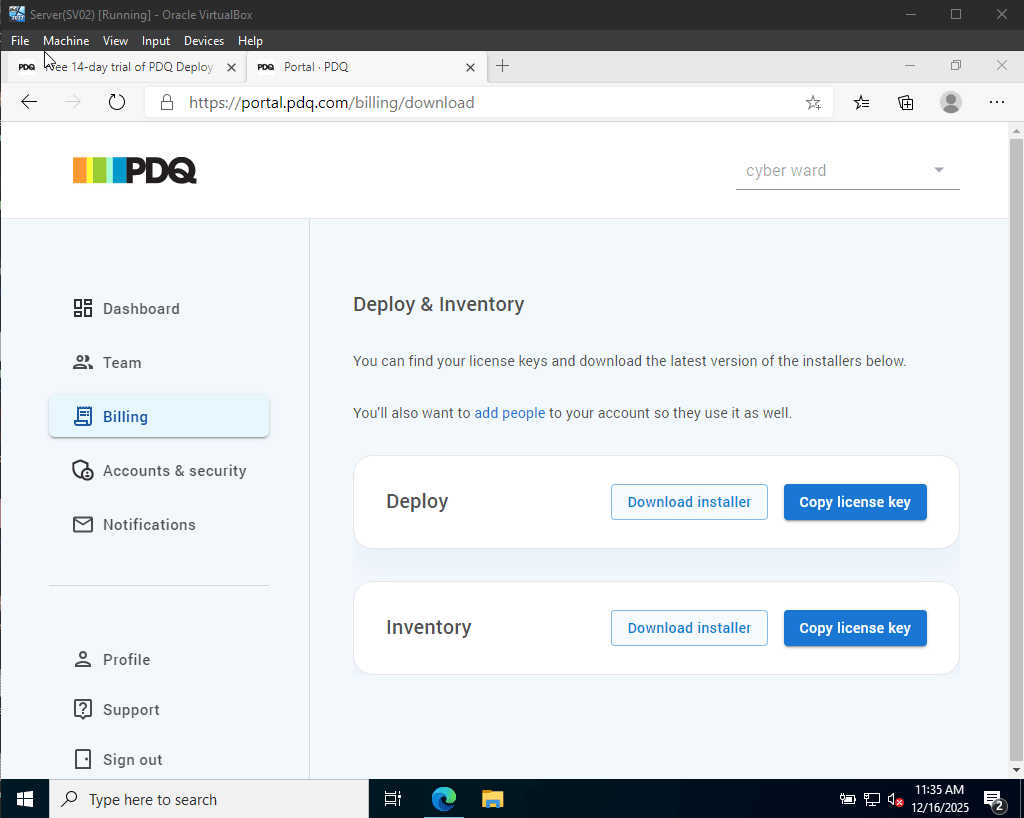
Once registered, I am redirected to a page that provides download links for PDQ Deploy and PDQ Inventory
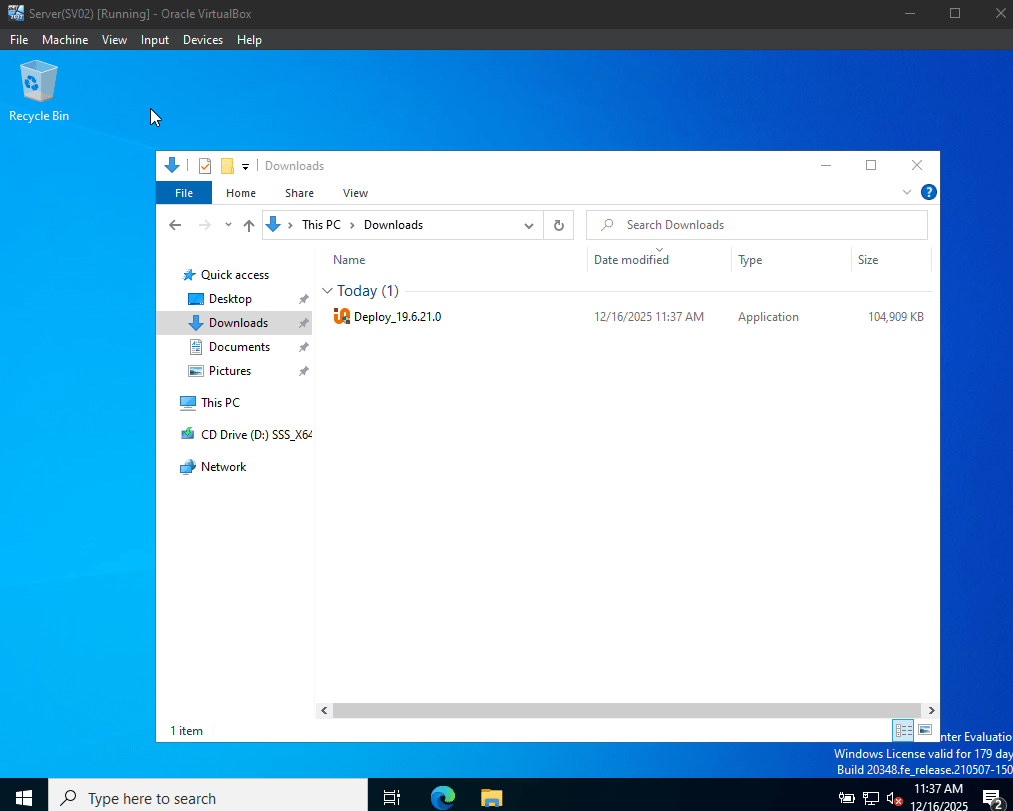
Now, we can run the installation, and follow the wizard:
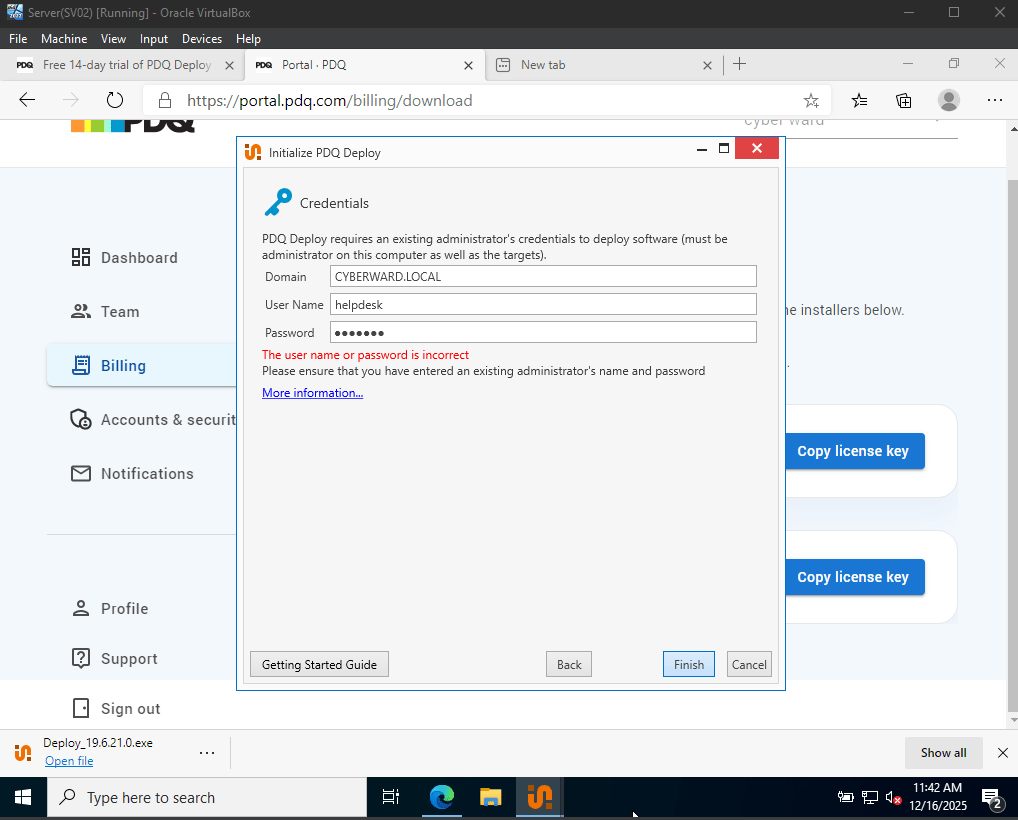
During the installation , you will be asked about the domain and user credentials:
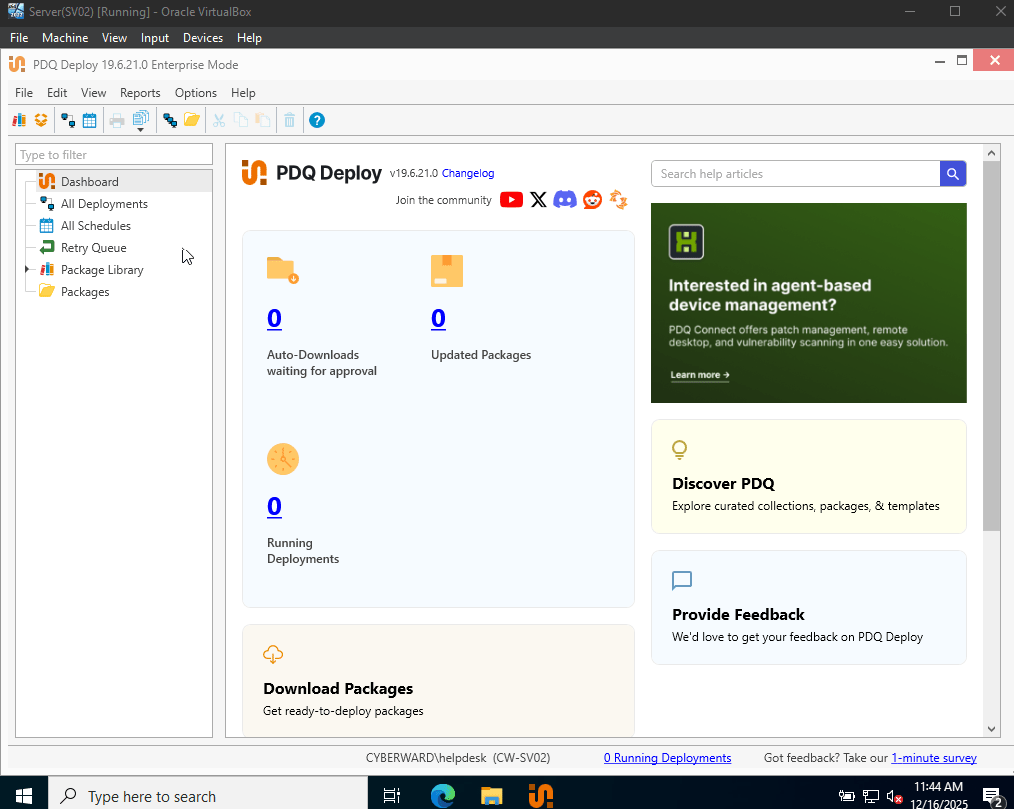
After installation on CW-SV02 as the deployment server, the application interface appears as shown below.
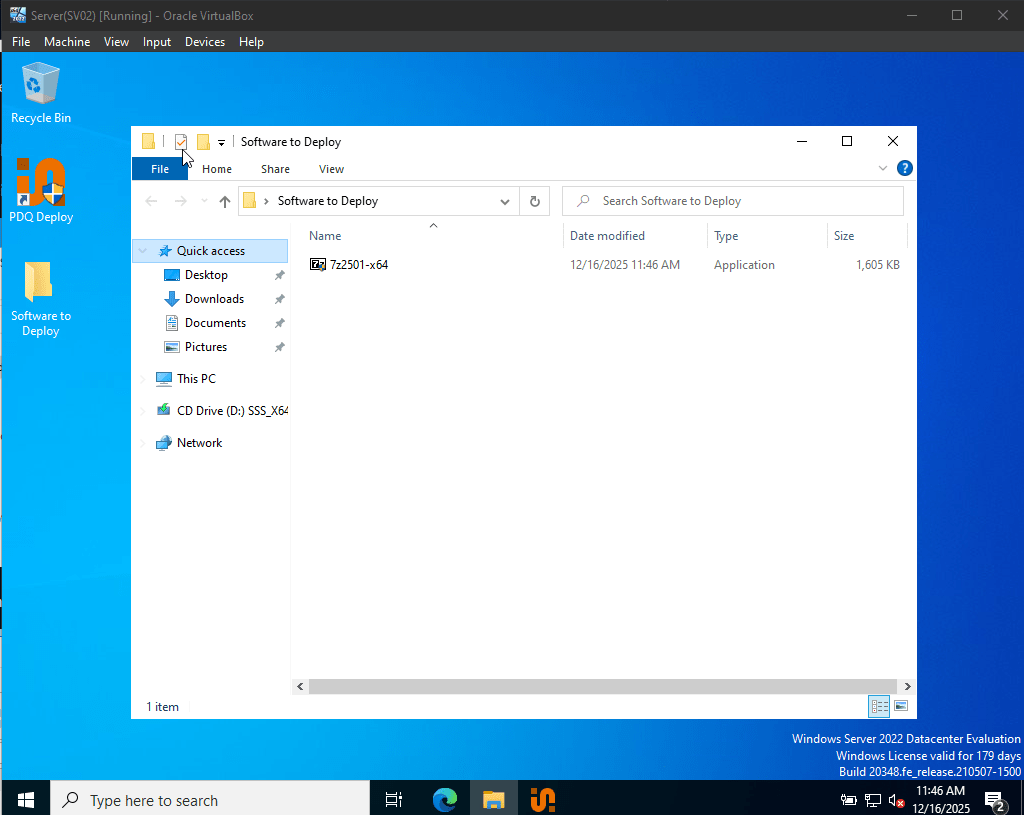
To begin the deployment process, the installer for the target application must first be downloaded and stored locally.
For this demonstration, 7-Zip is selected as the software to deploy. The installer is saved in a desktop folder named “Software to Deploy.”
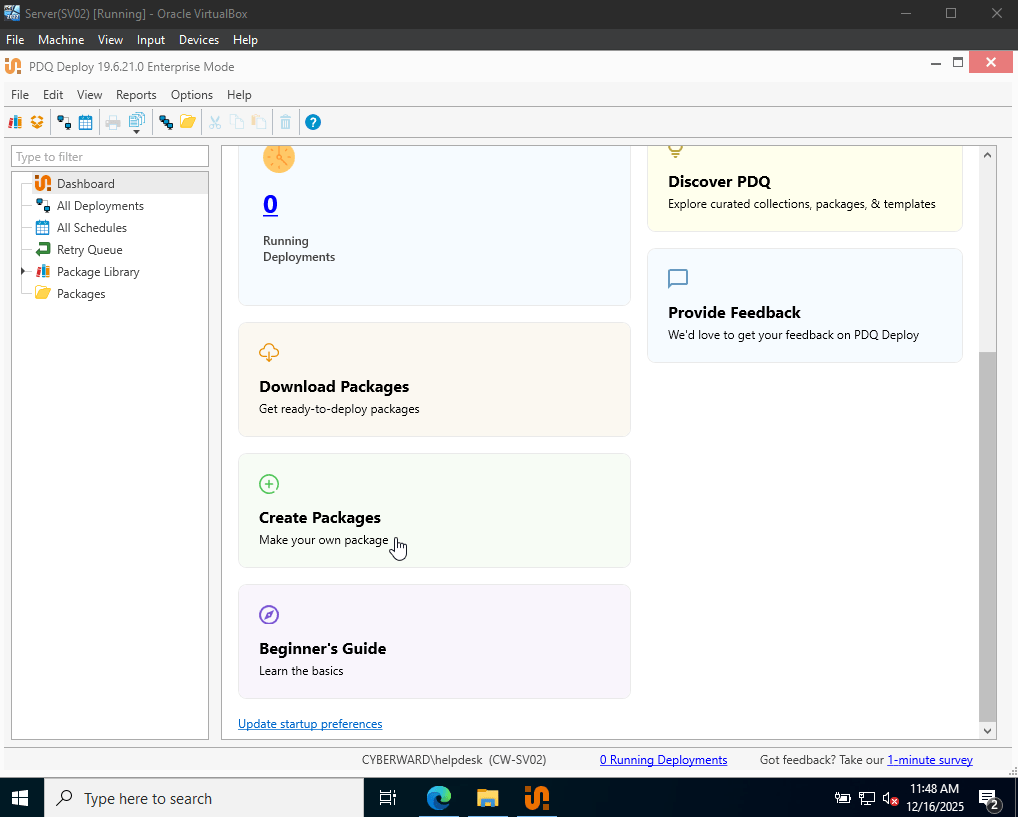
Next, I open PDQ Deploy and select “New Package.” I then complete the required fields to create the deployment package.
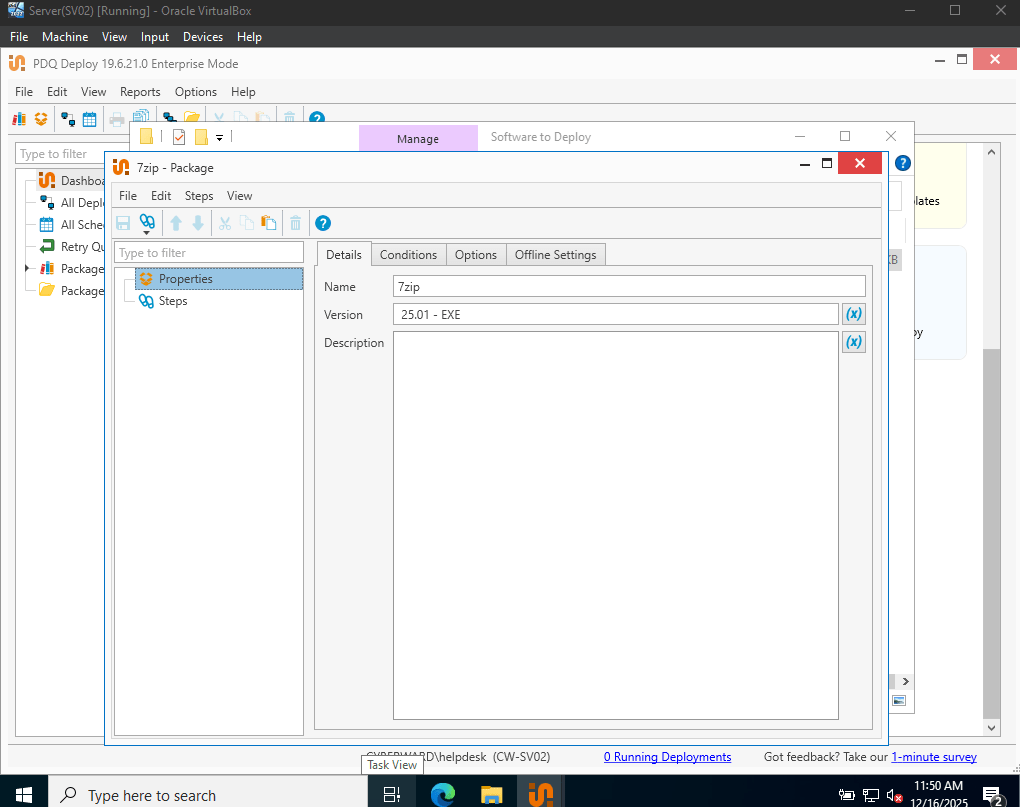
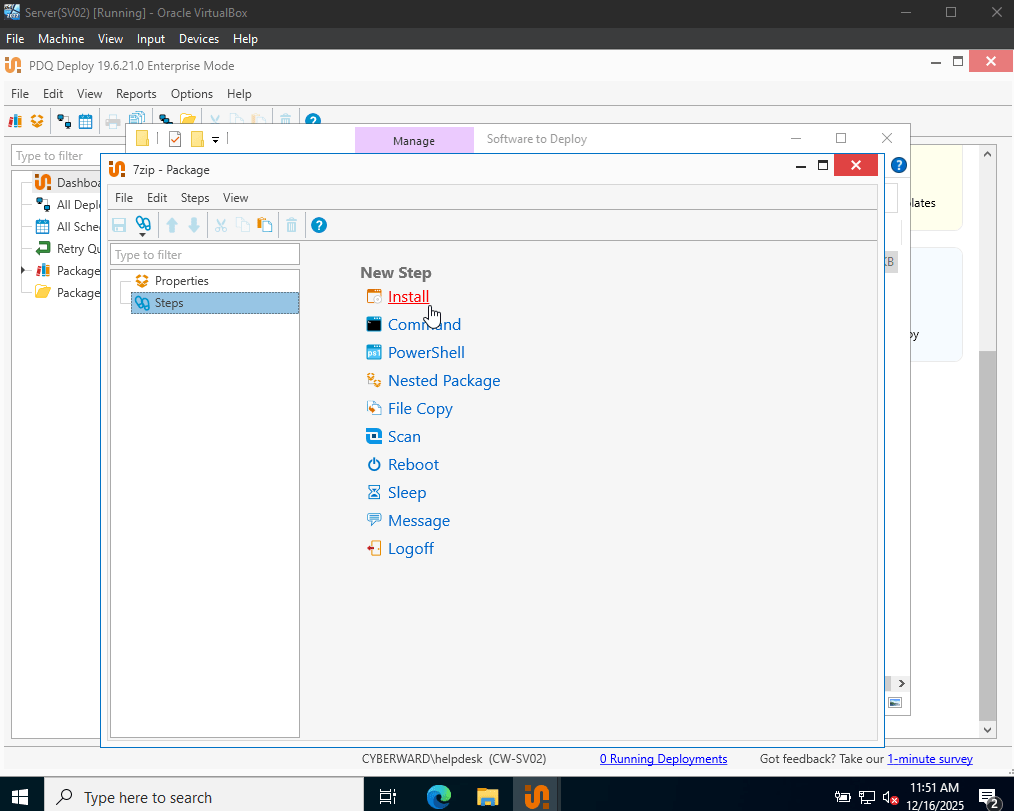
Afterward, I navigate to Steps and select Install to define the installation action
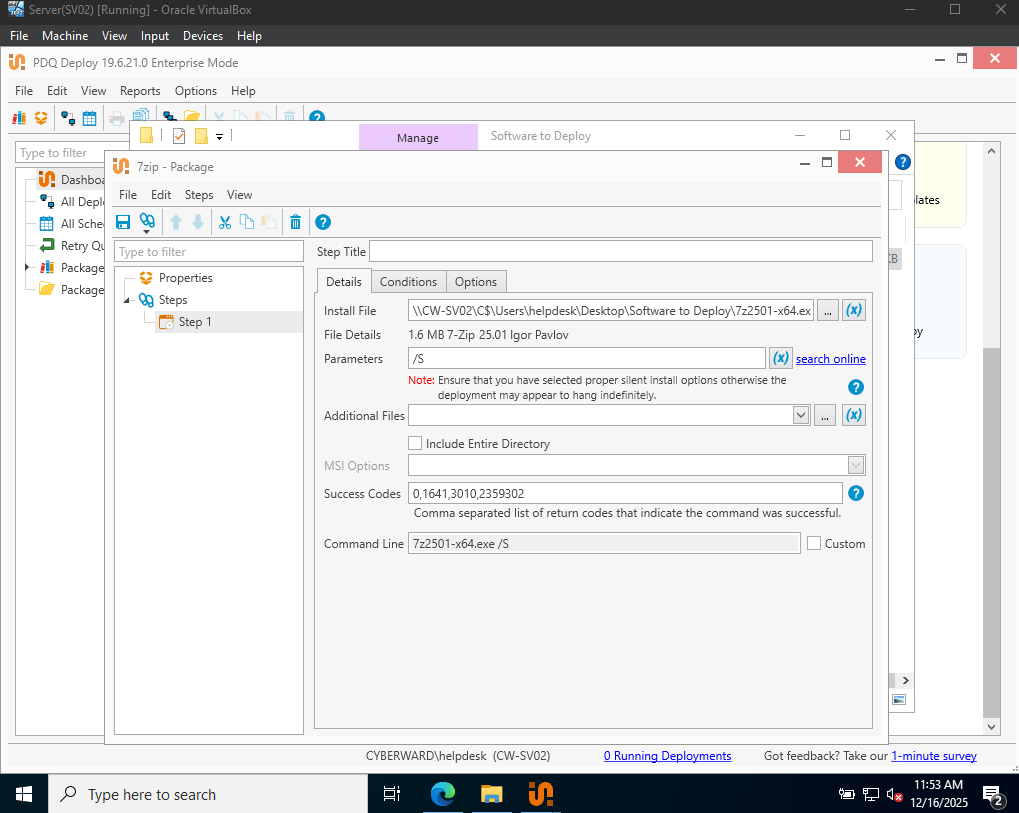
Then, I select the installer, add the parameters for silent installation (in this case, the appropriate one for 7zip is /S) to avoid disturbing any user while they are working, and press save.
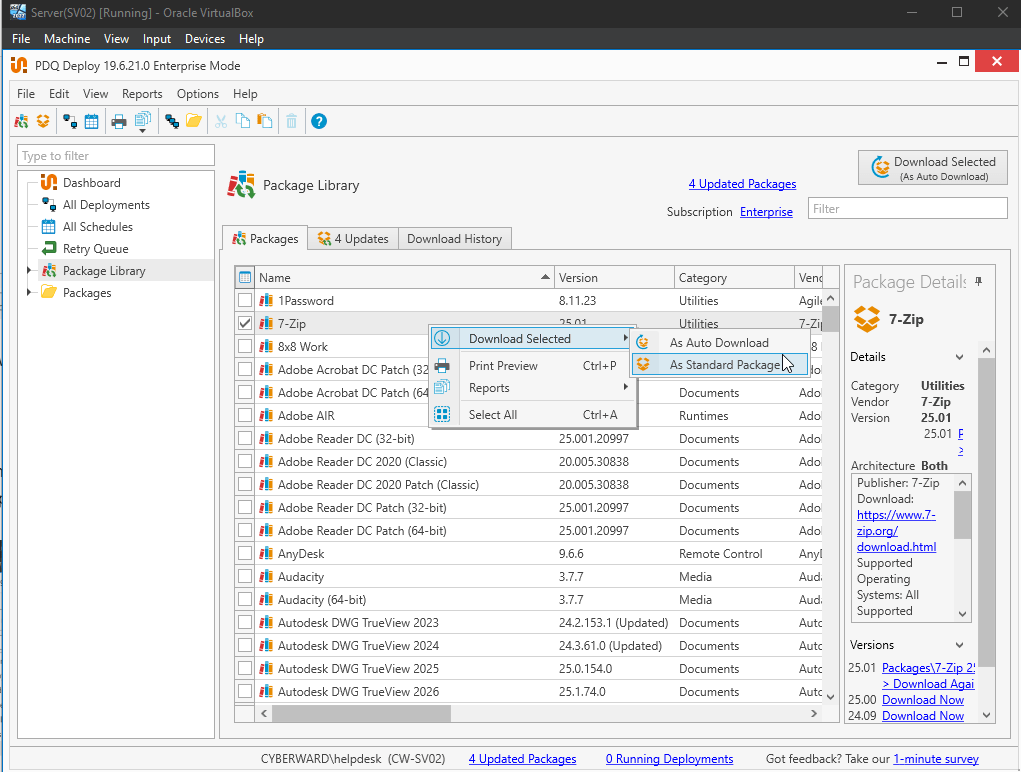
Another way to download 7zip is from the PDQ package library:
Once completed, the package appears in the list(7zip). To start the deployment, I right-click the package and select “Deploy Once.”
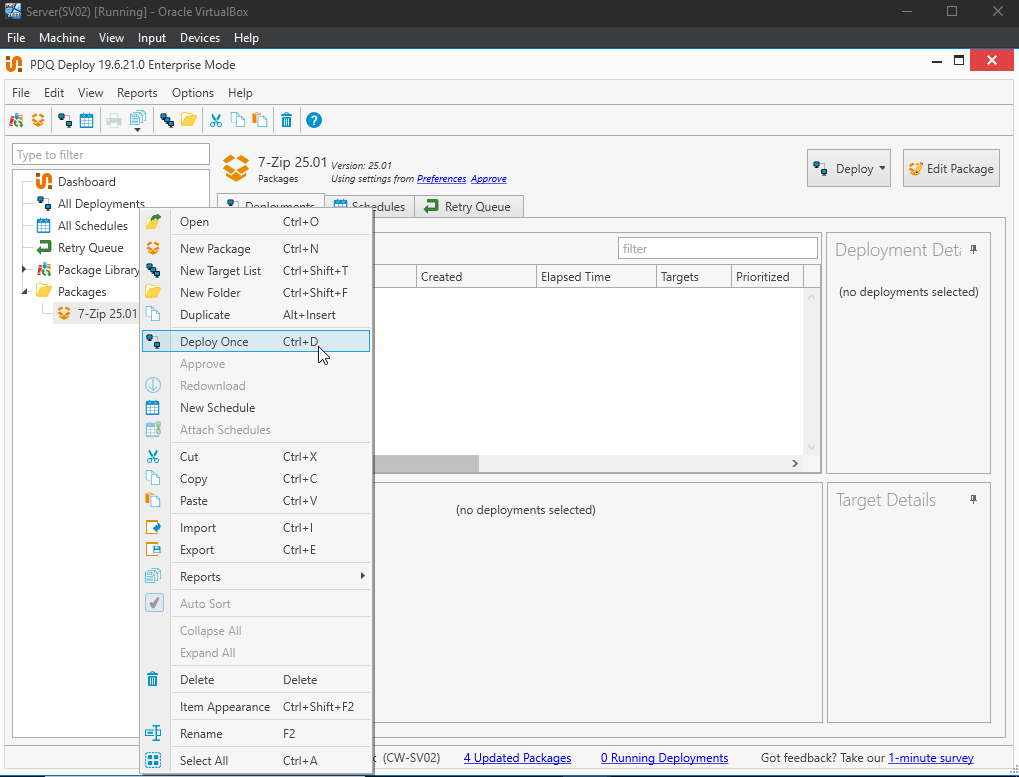
Finally, I select the target users or computers by clicking “Choose Targets,” and then start the deployment.
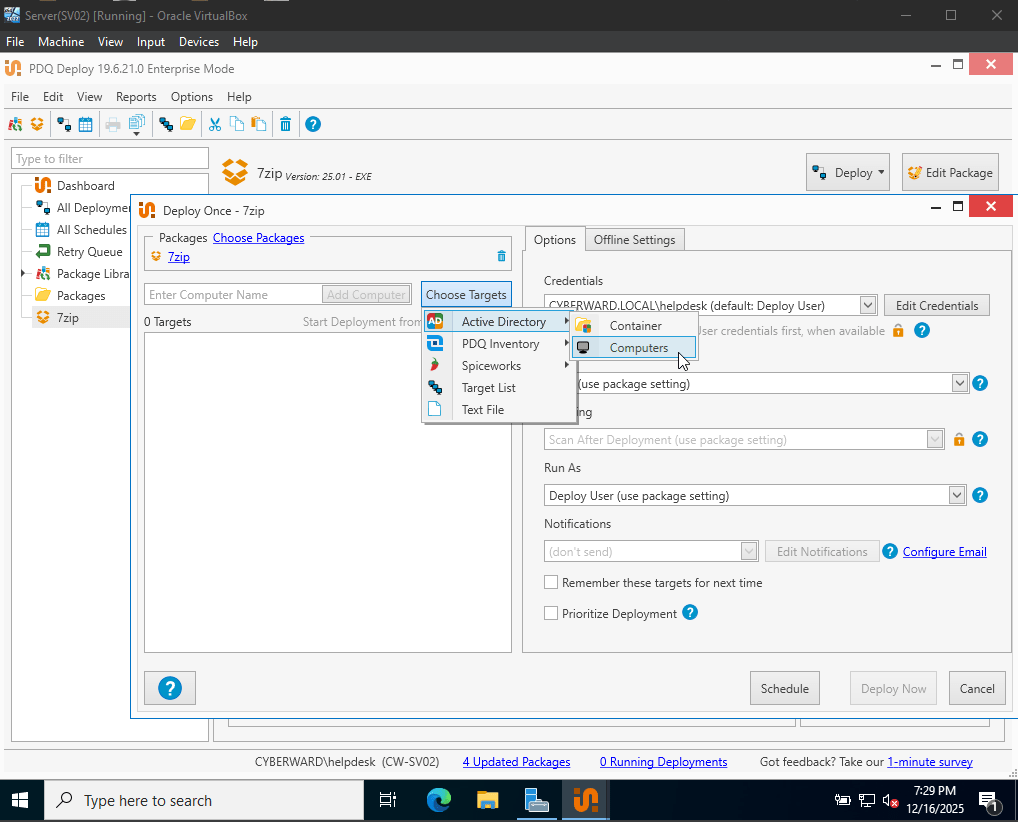
For testing purposes, I select the current client machine CW-SV02 as the deployment target.
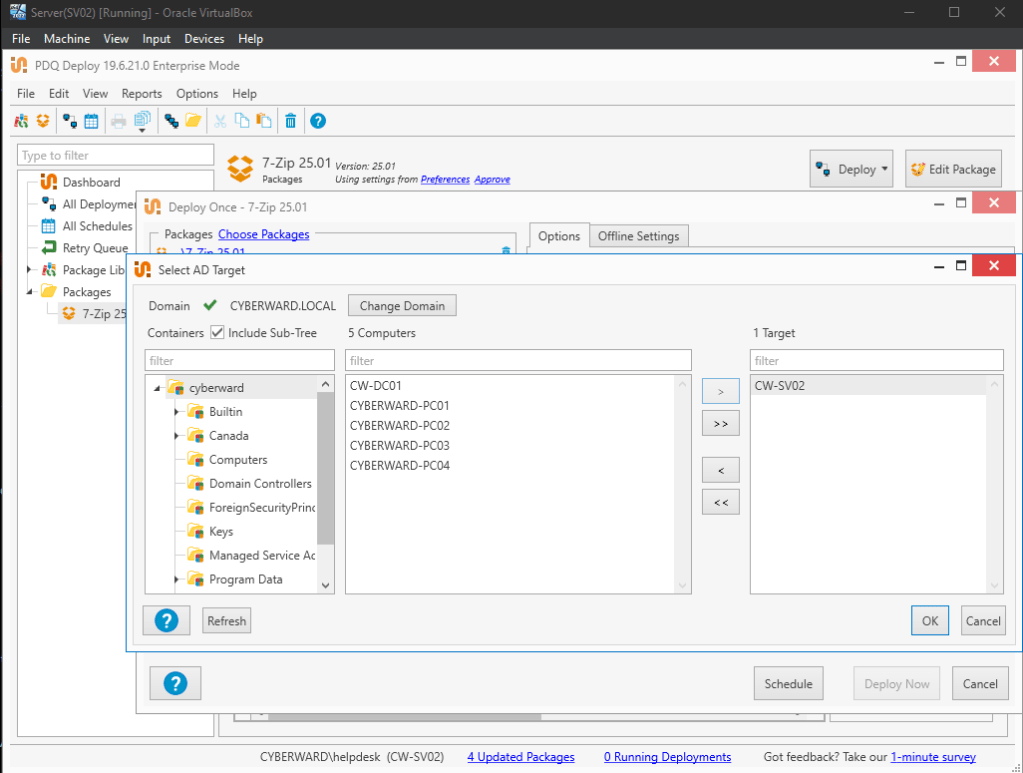
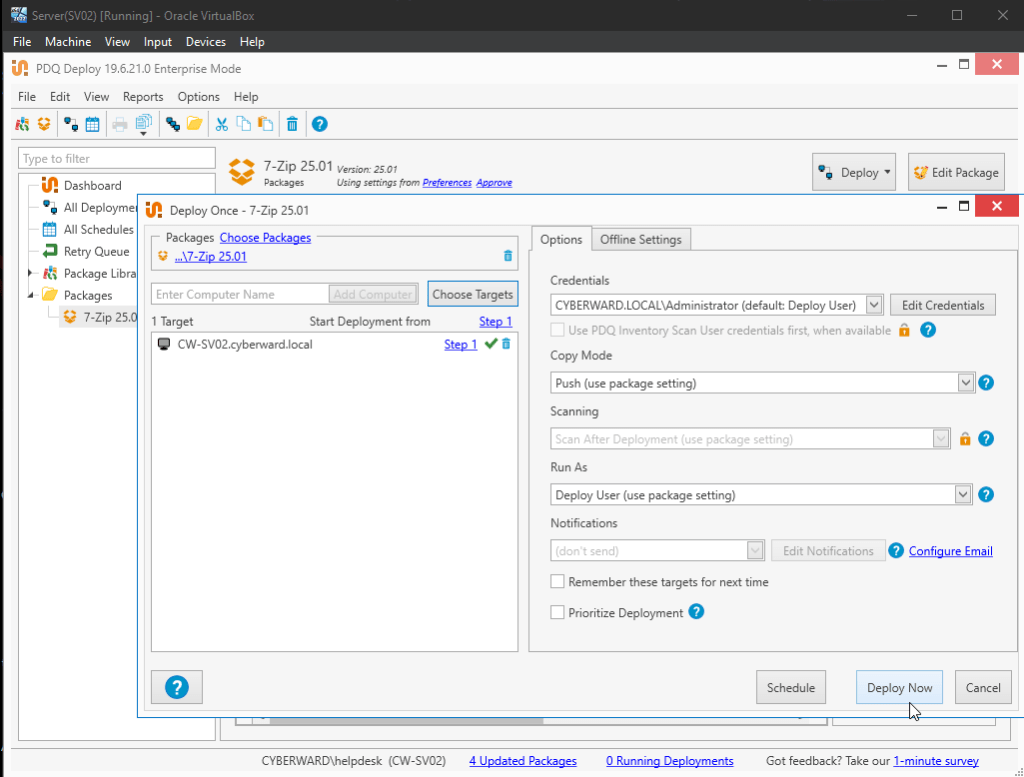
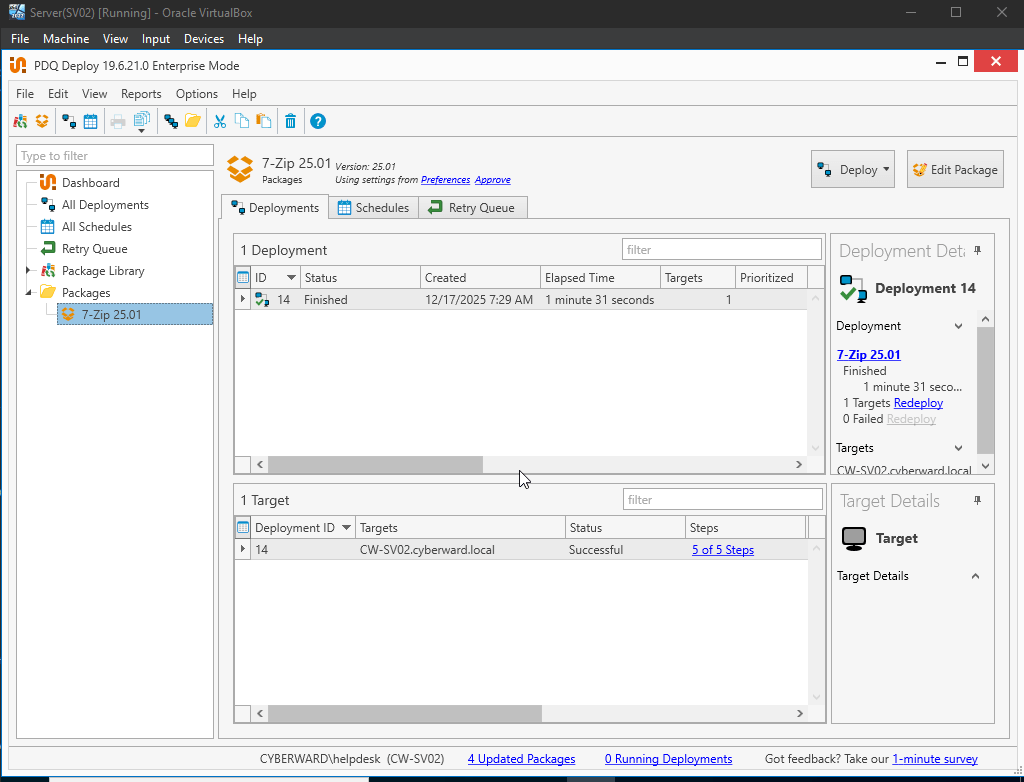
After initiating the deployment, I get the following results:
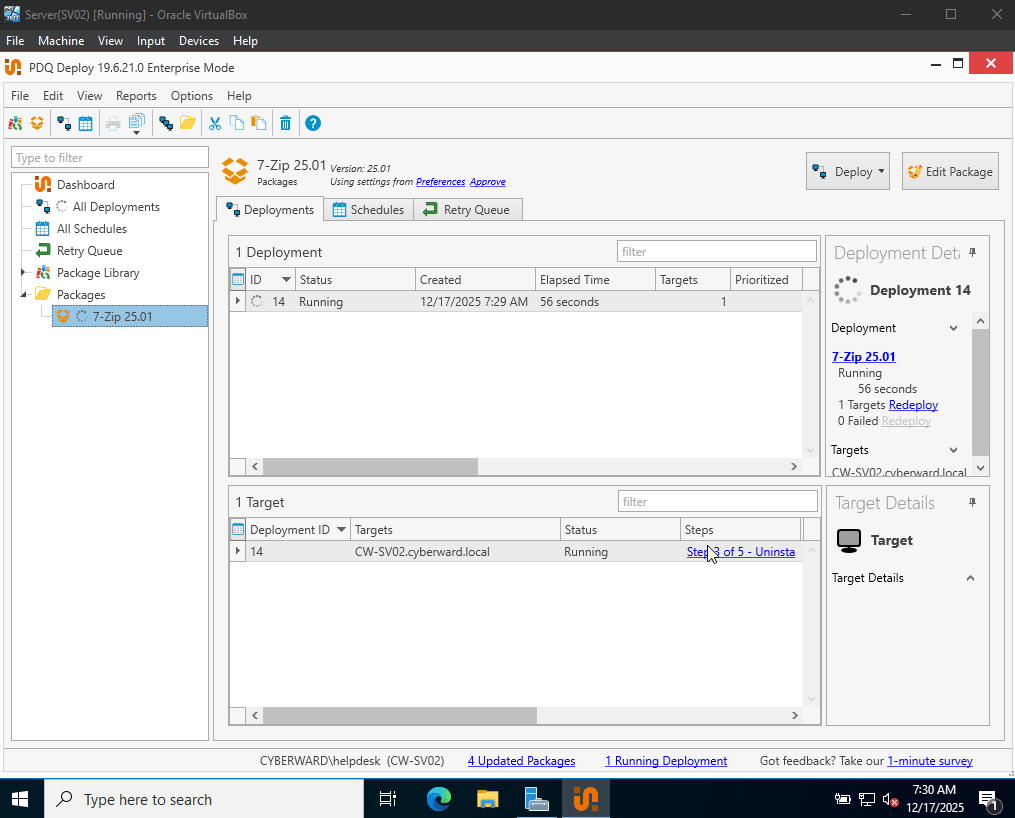
software deployment on the target machine is successful:
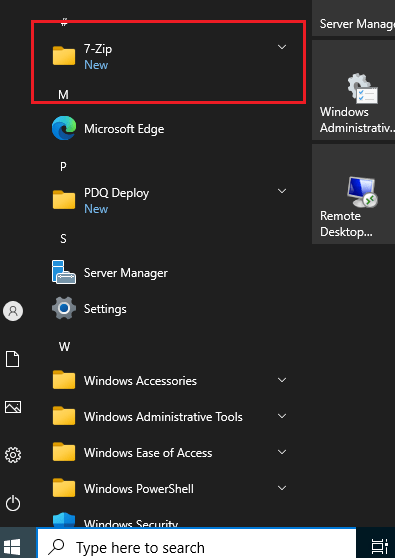
Now, I verify that 7zip was installed correctly on the client machines:




 CYBERWARD
Leave a comment