Dynamic Host Configuration Protocol (DHCP) is a network service that automatically assigns IP addresses and other network settings to devices on a network, eliminating the need for manual configuration. Setting up a DHCP server ensures that each device can communicate seamlessly within the network, reduces configuration errors, and makes network management more efficient. In this lab, I’ll walk through the steps to configure a DHCP server, from installing the service to defining IP scopes and options, so client machines could automatically receive IP addresses.
Steps:
- Install the DHCP Server role
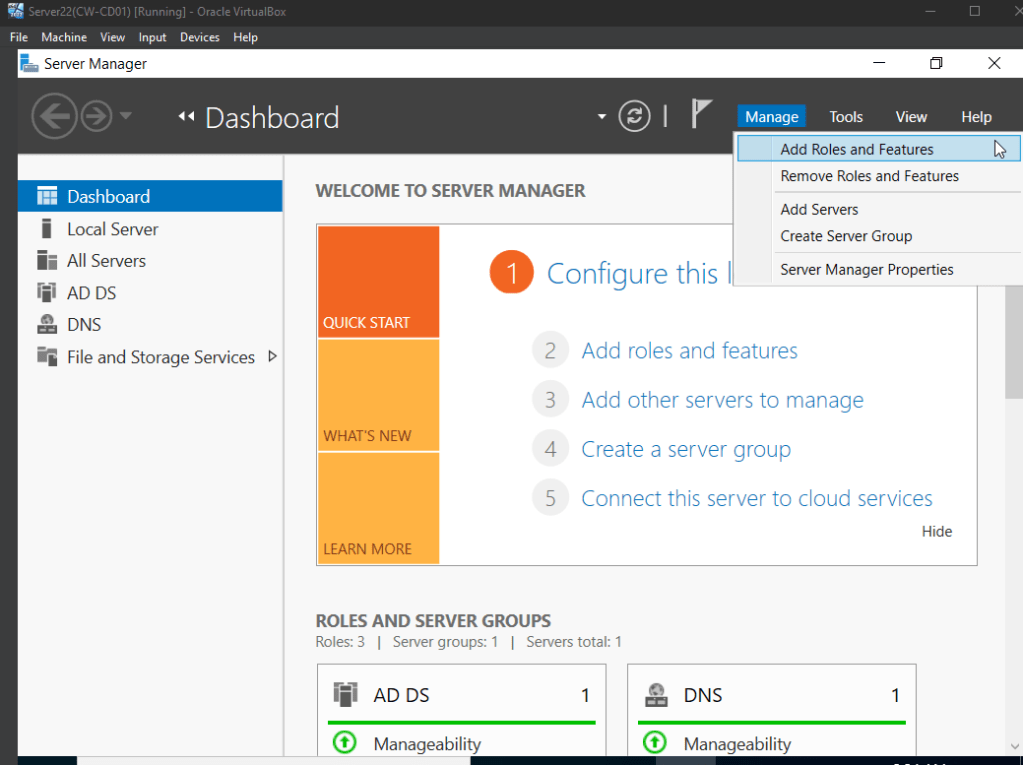
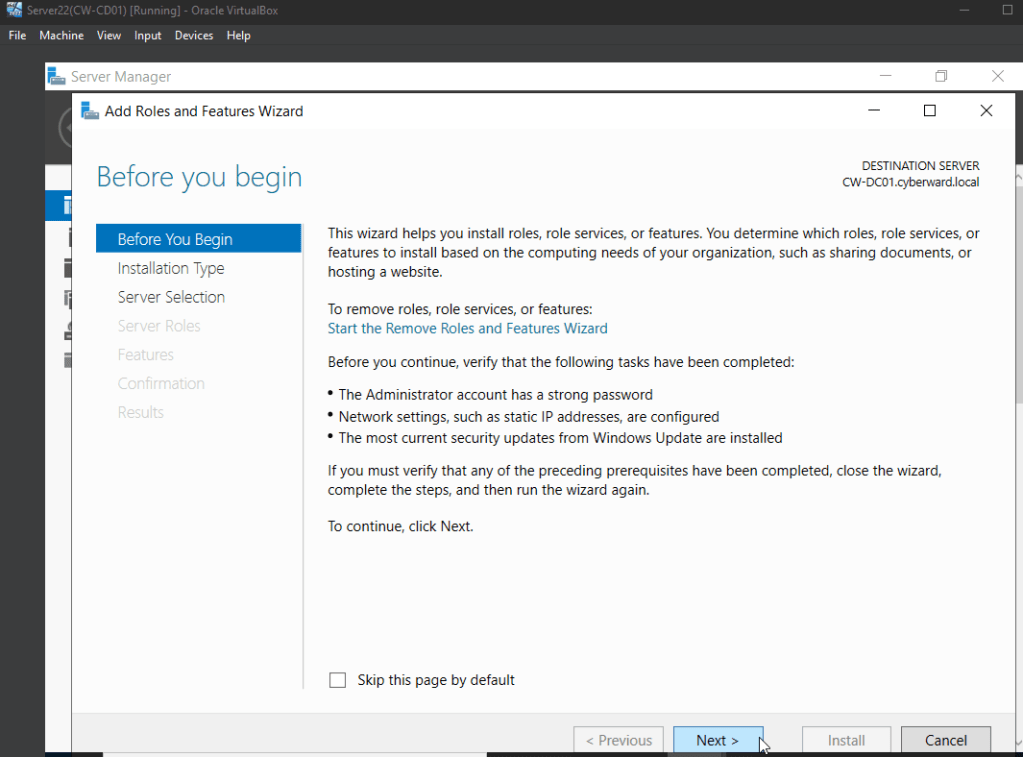
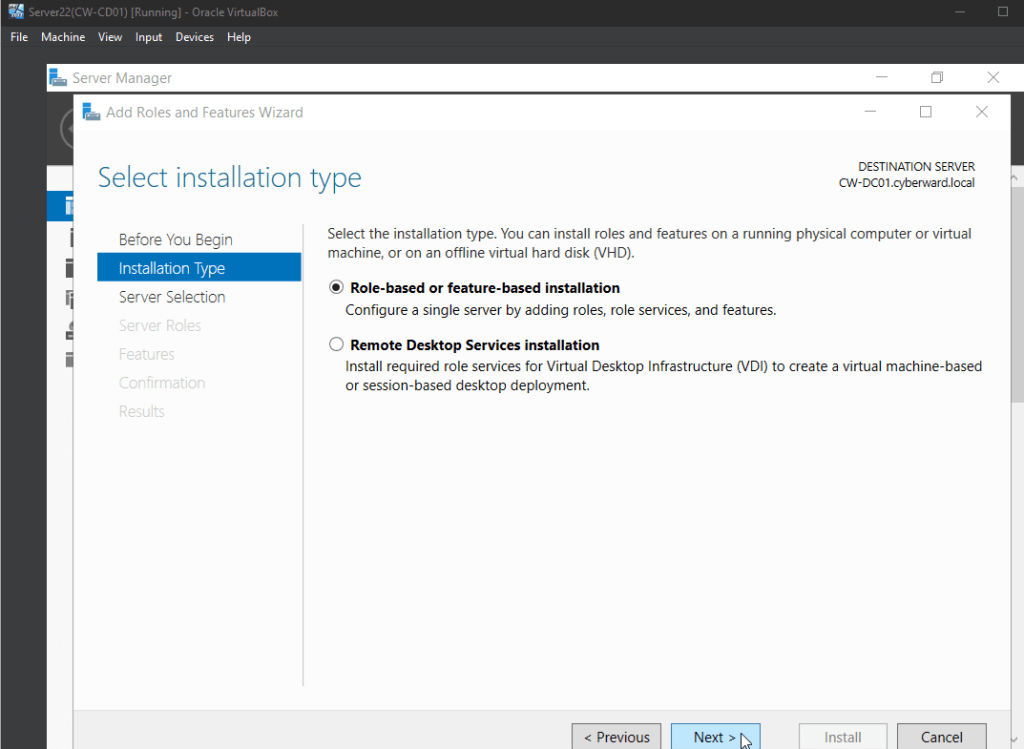
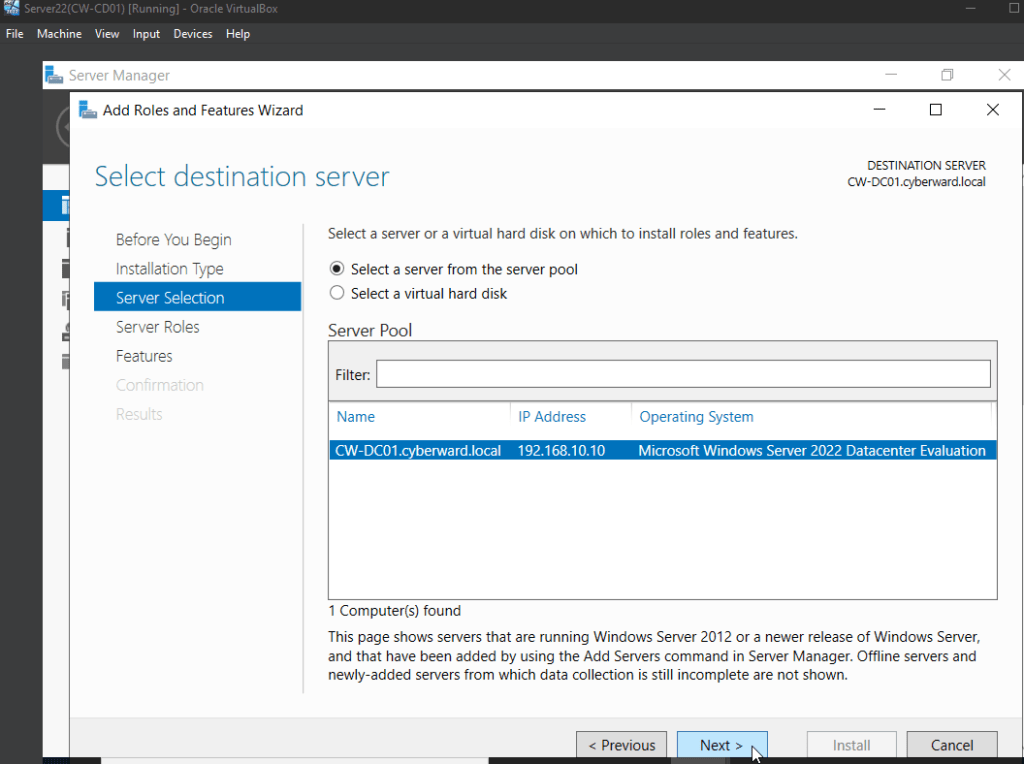
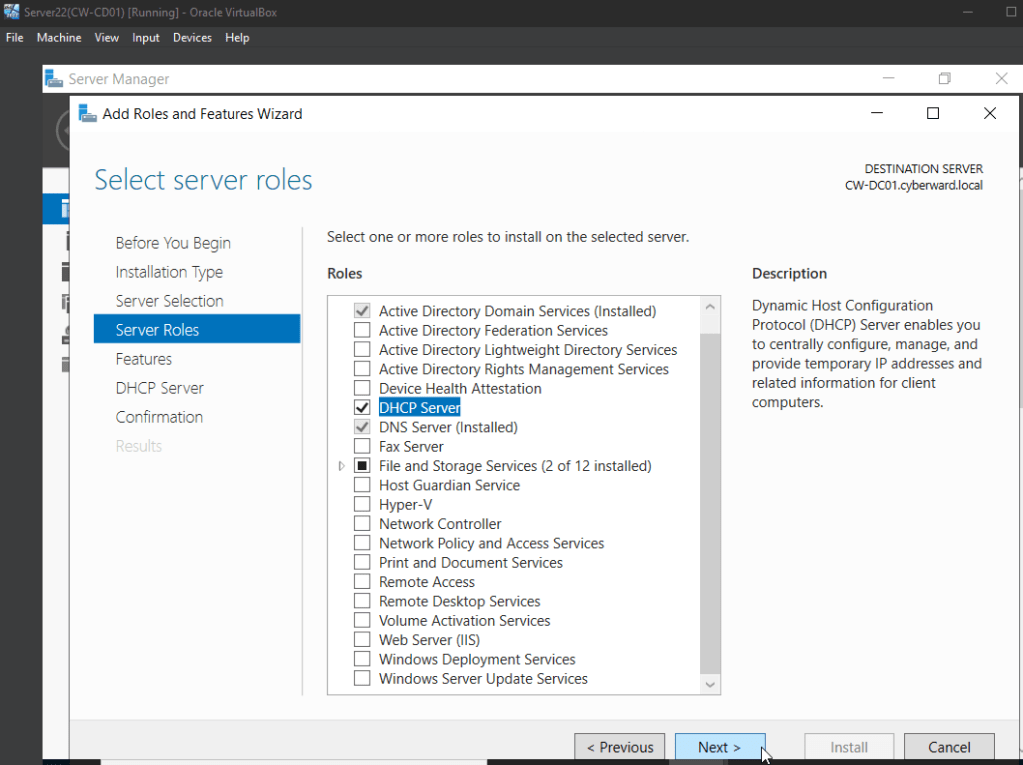
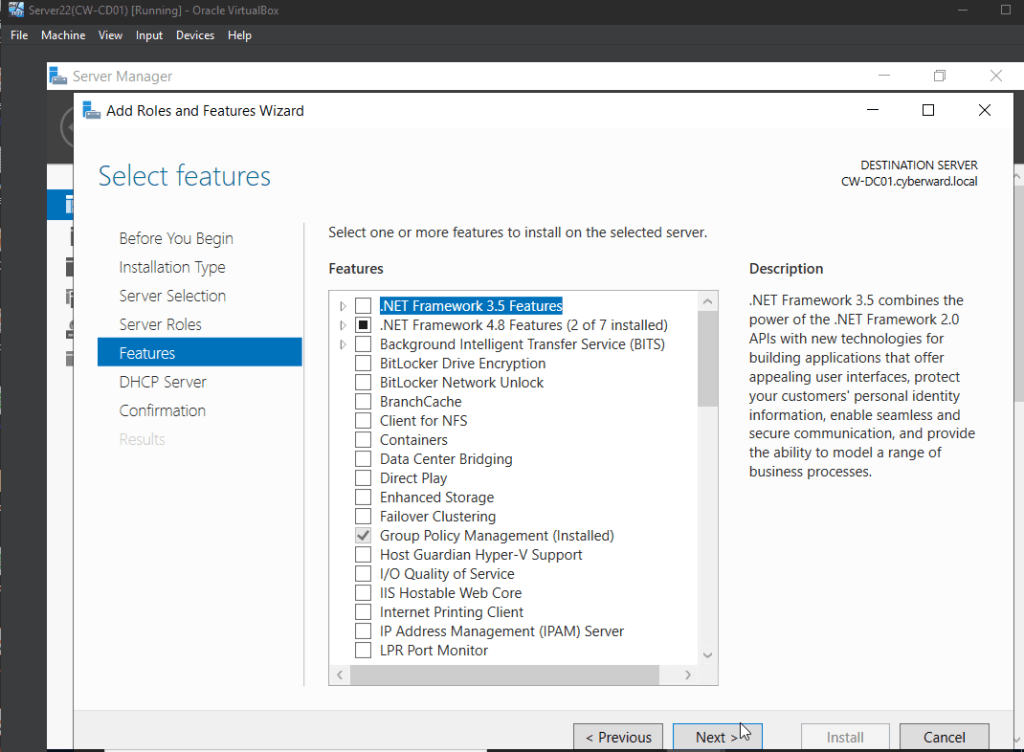
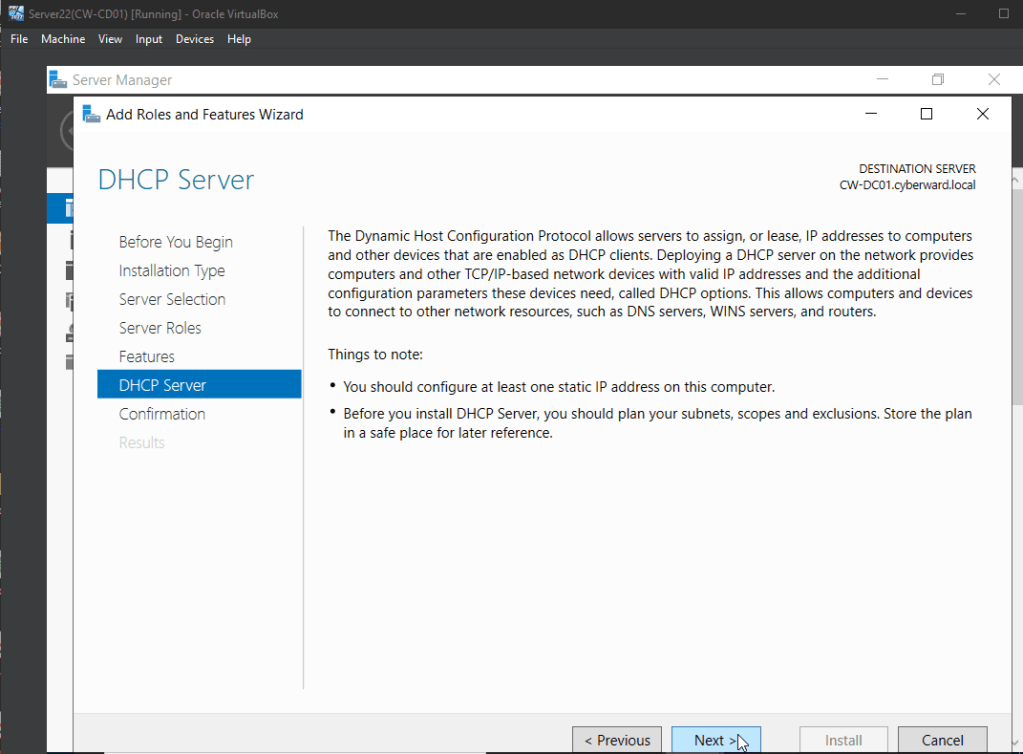
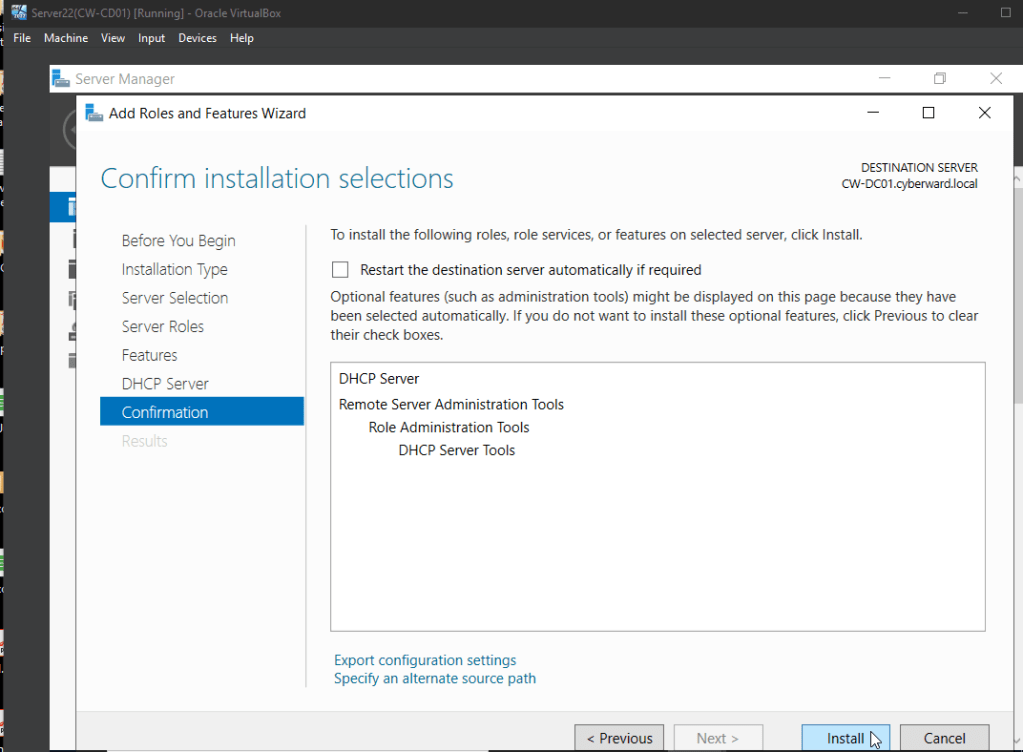
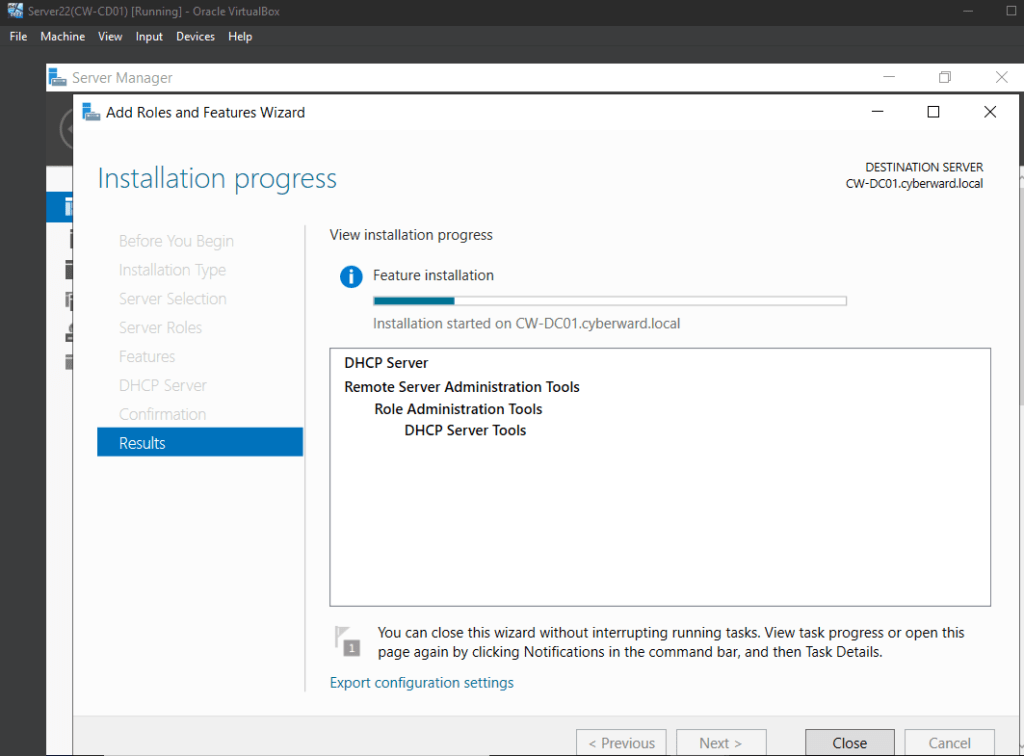
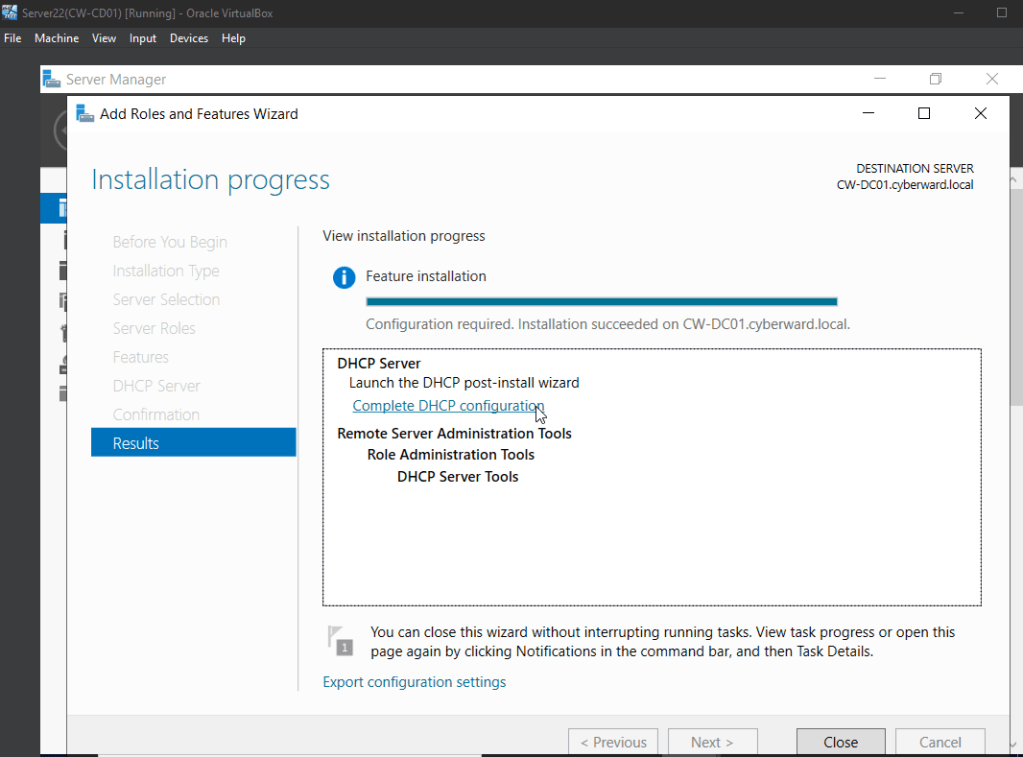
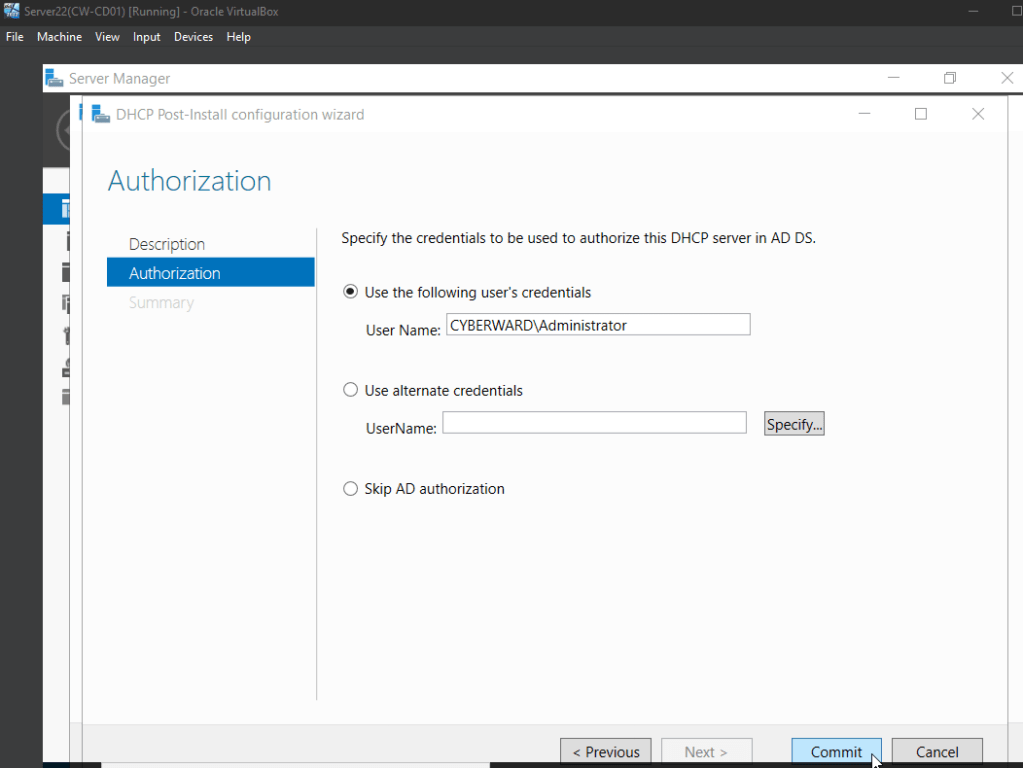
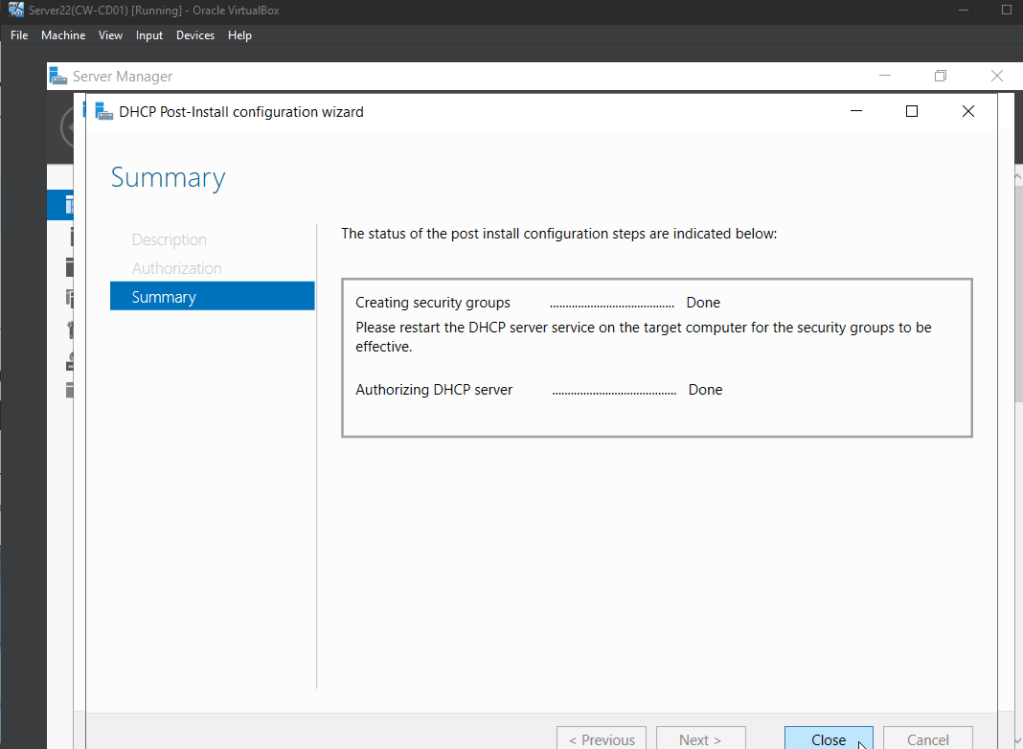
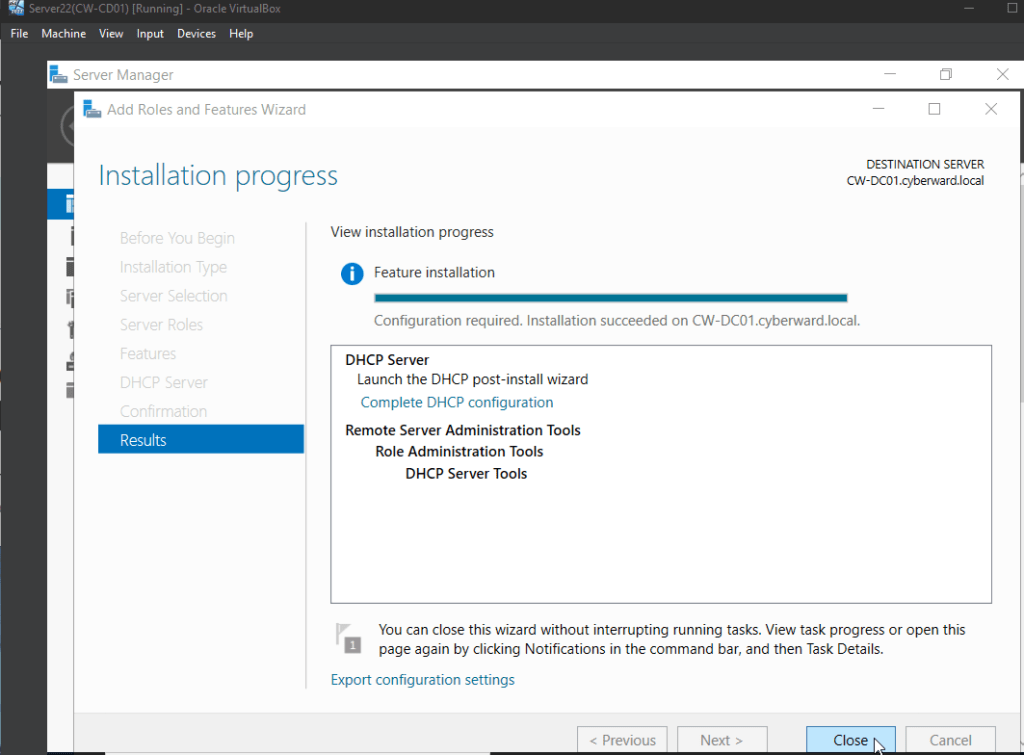
2. Complete DHCP Configuration & Authorize the DHCP server in Active Directory
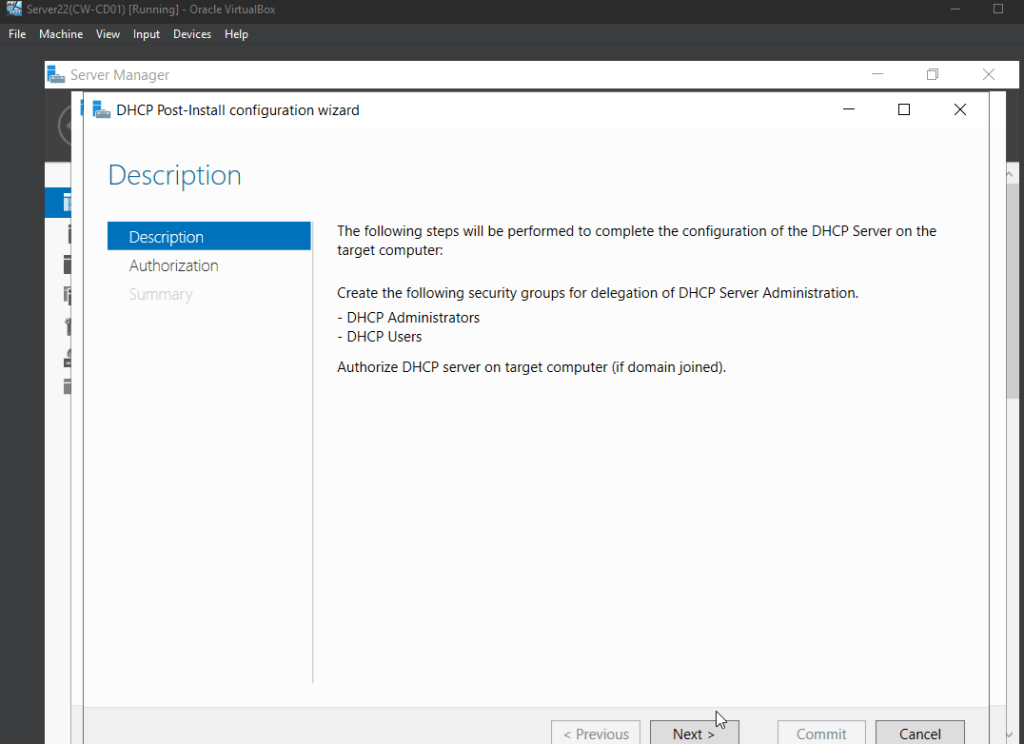
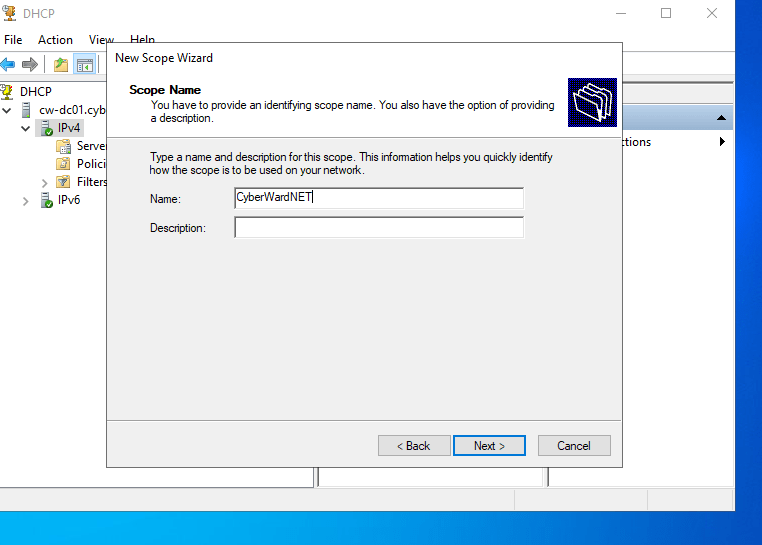
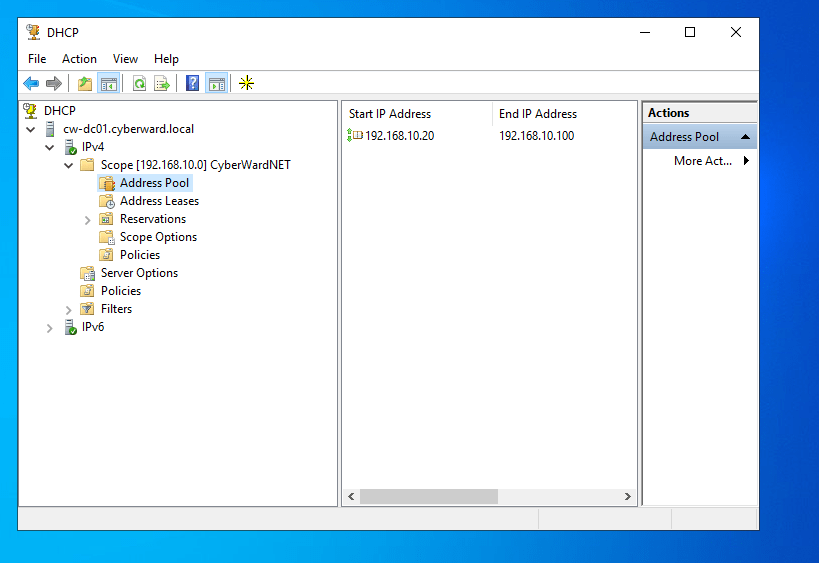
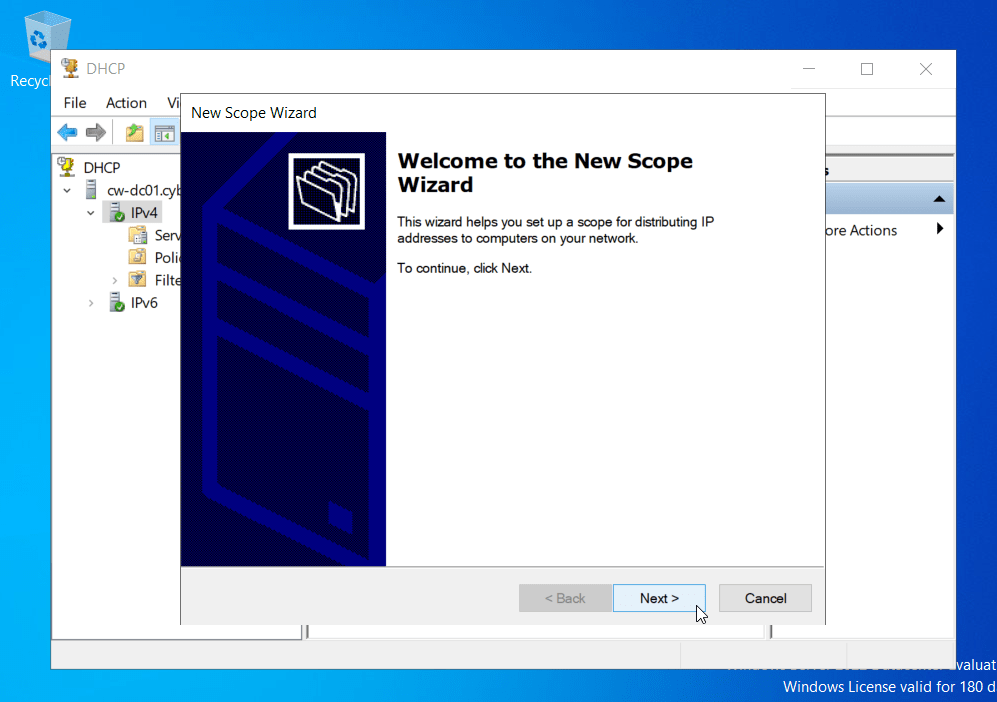
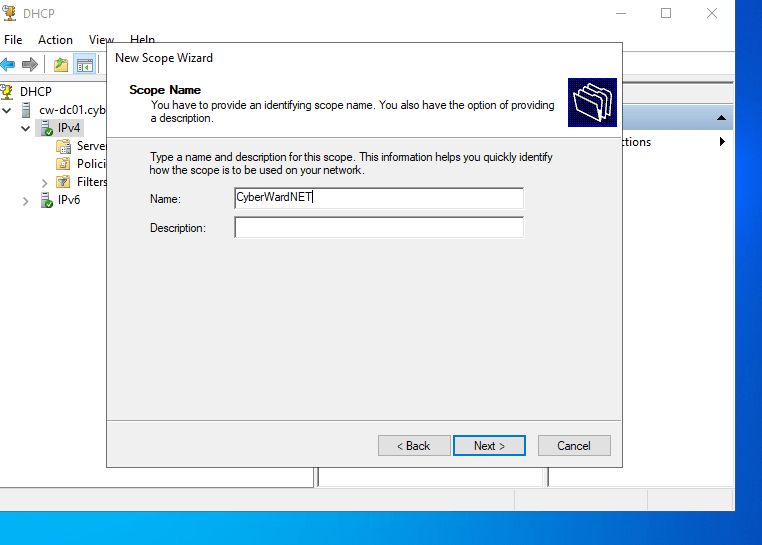
3. Create a DHCP scope
scope configuration:
| Setting | Value |
| Network | 192.168.10.0 |
| Subnet Mask | 255.255.255.0 |
| IP Range | 192.168.10.20 – 192.168.10.100 |
| DNS Server | 192.168.10.10 |
This allowed client machines to automatically receive network configuration.
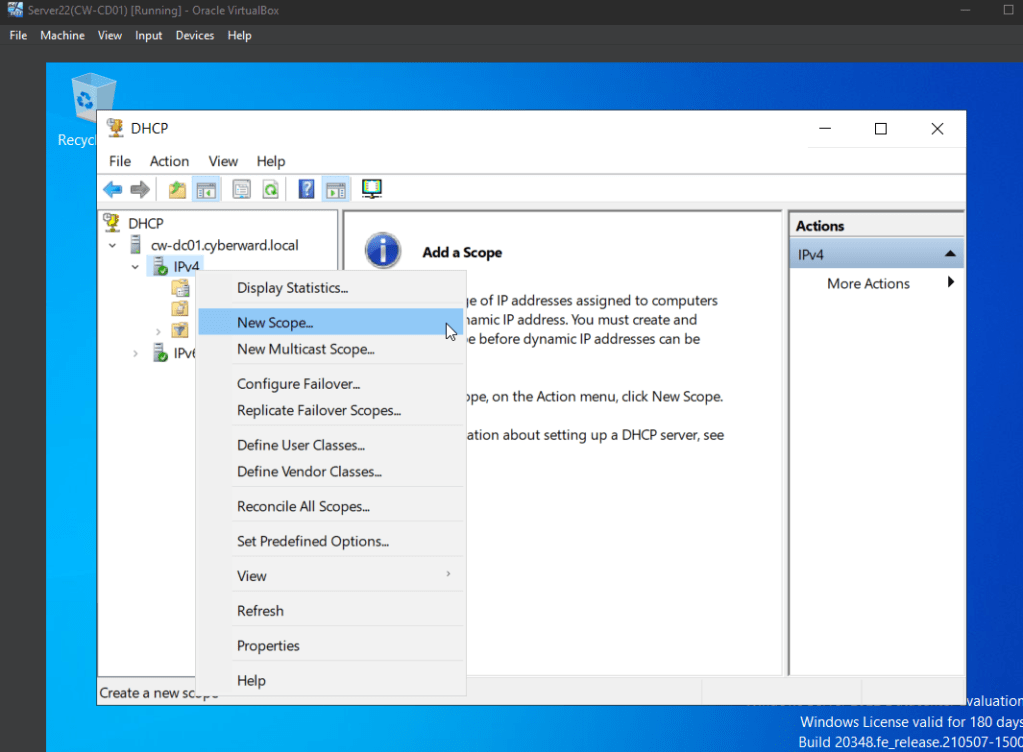
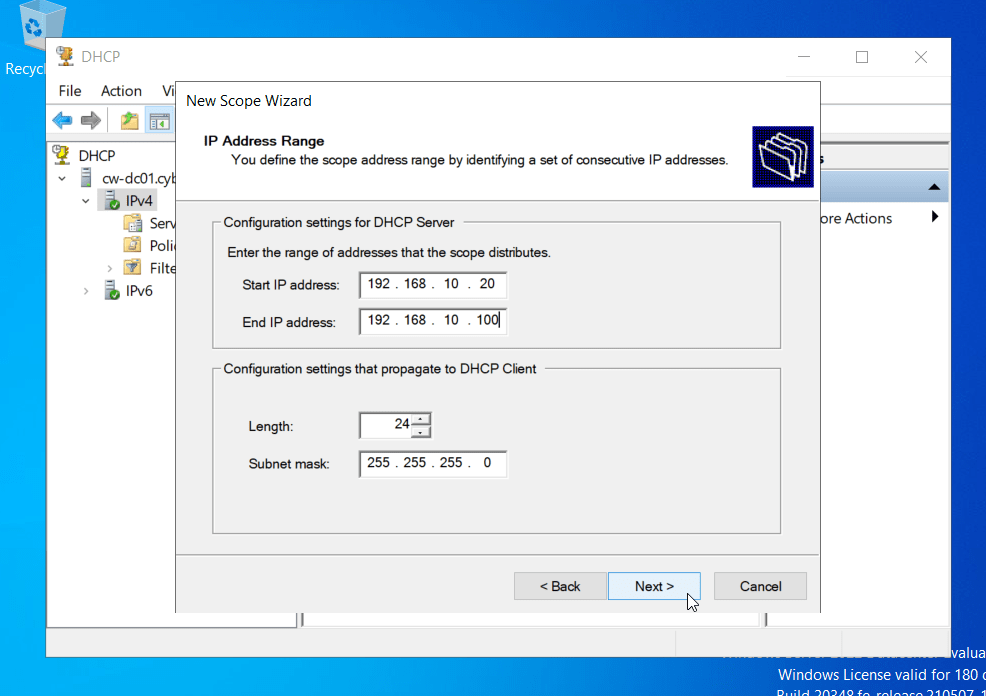
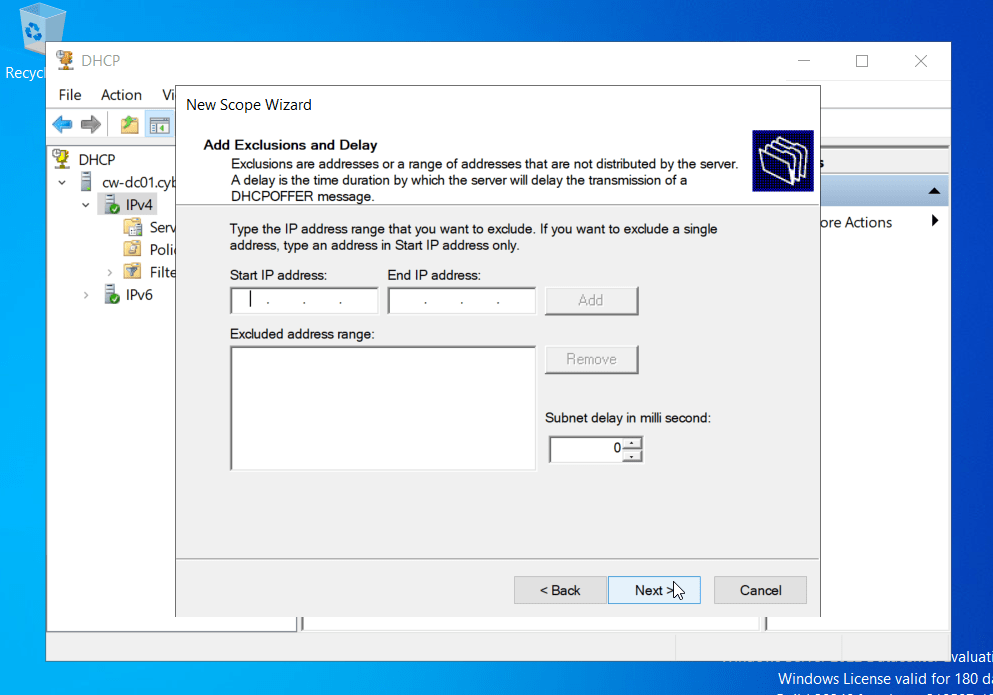
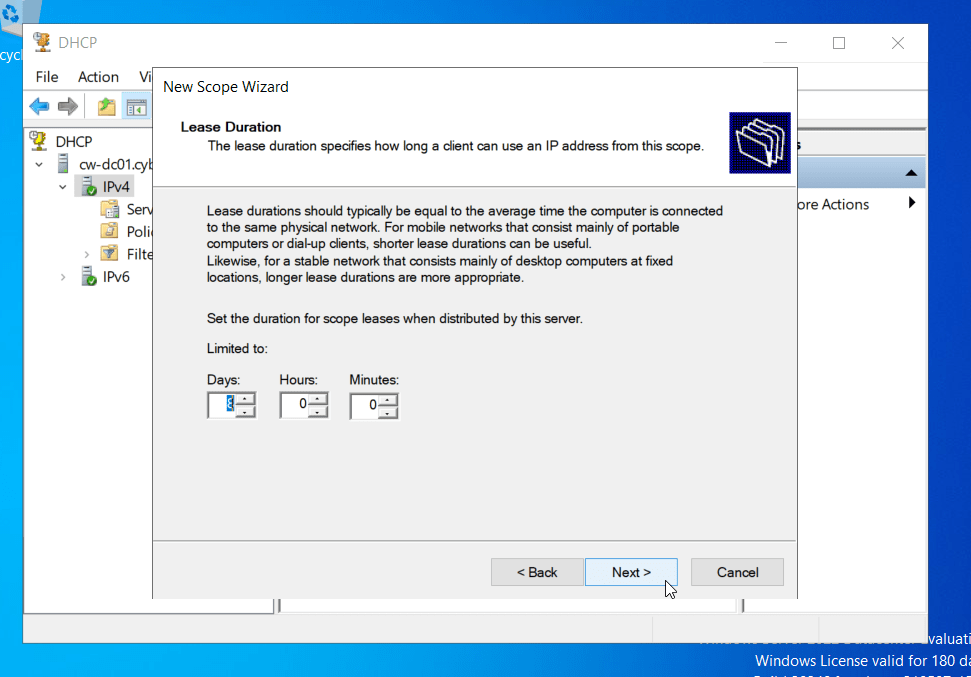
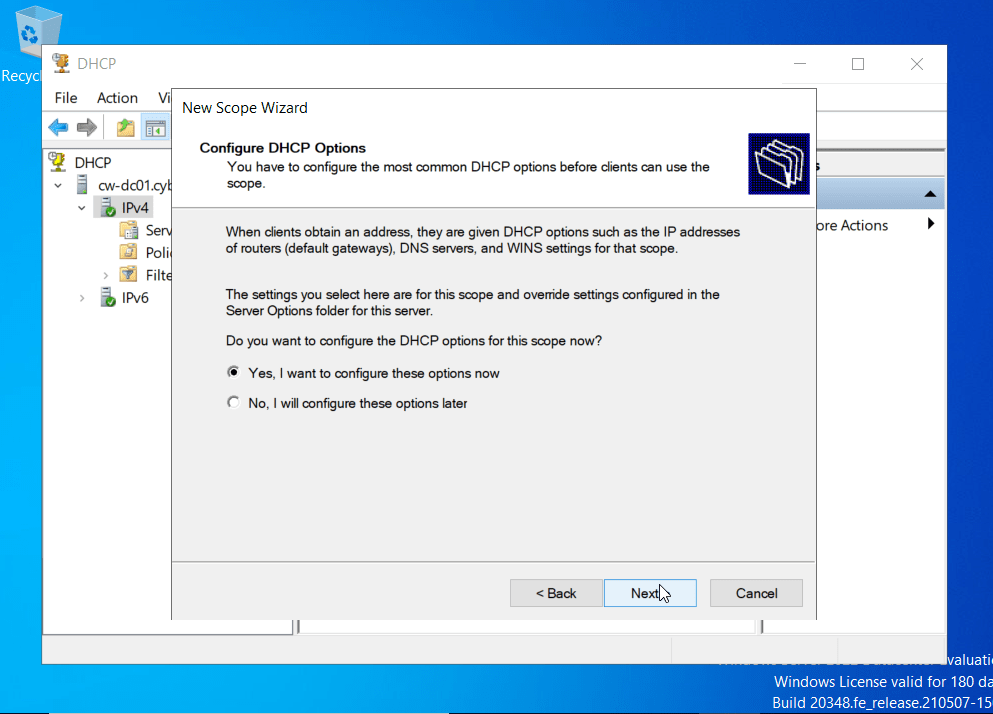
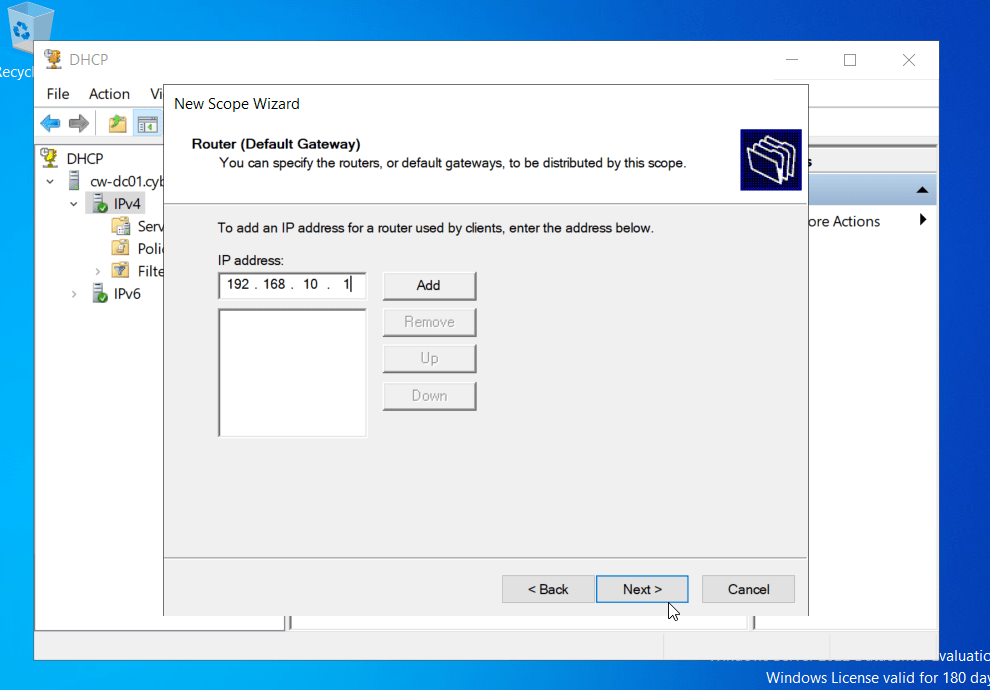
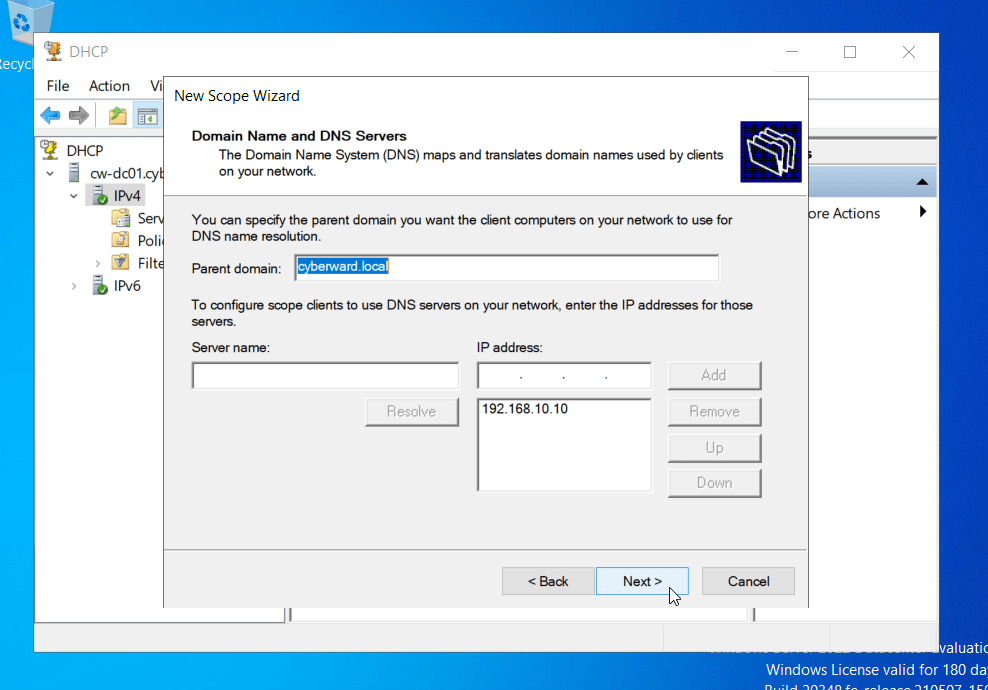
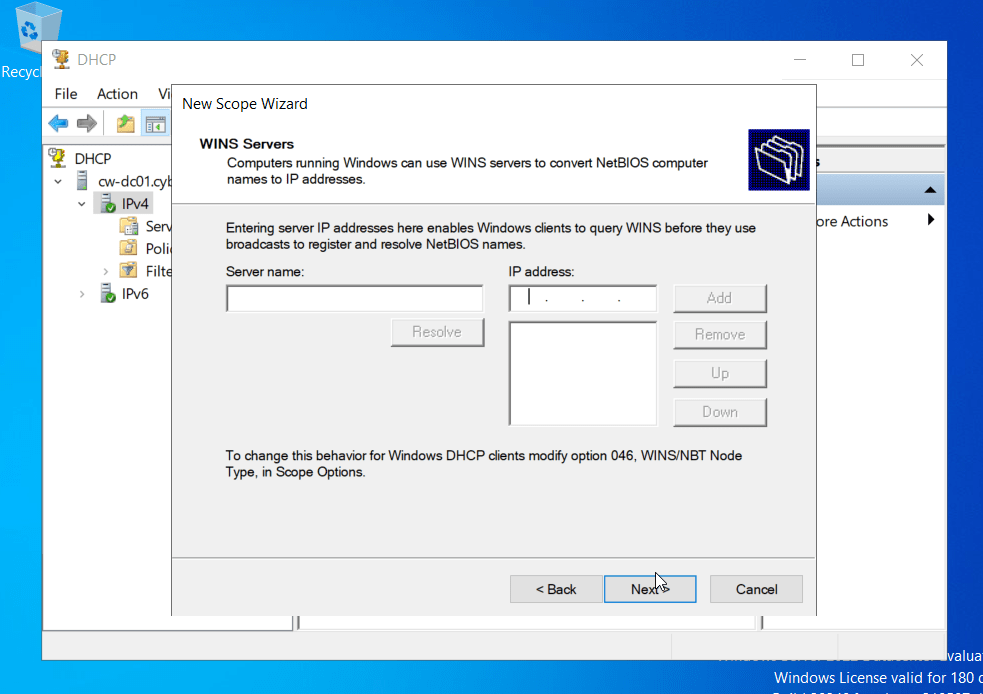
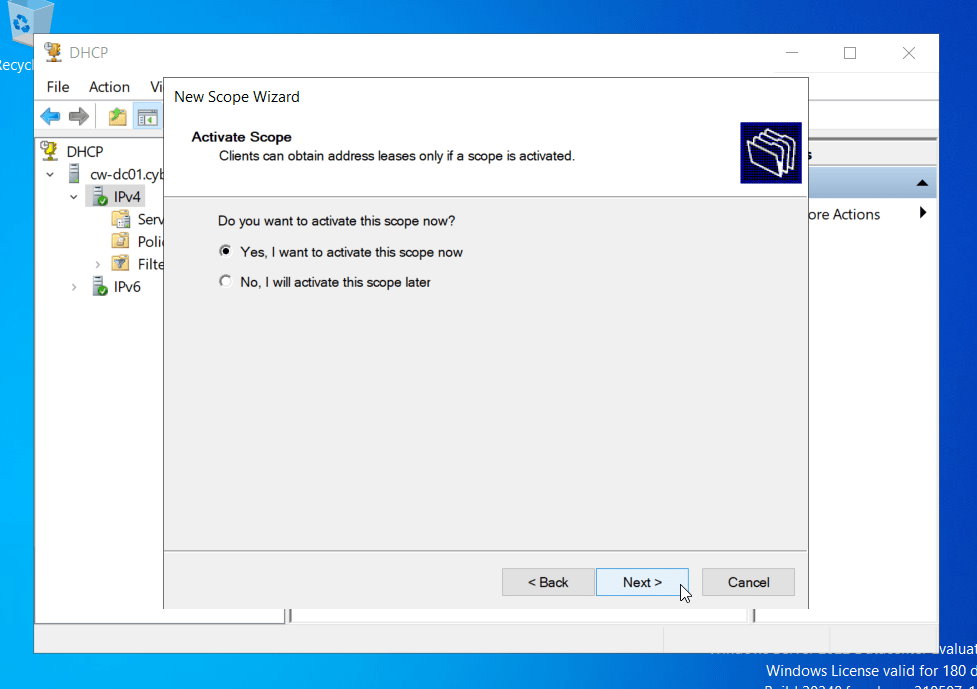
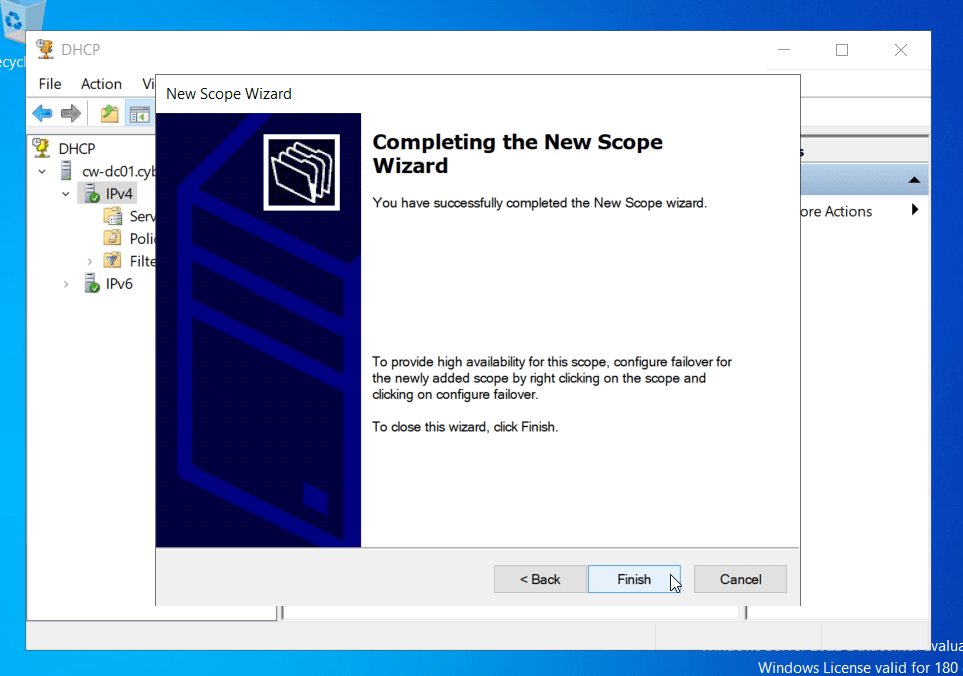
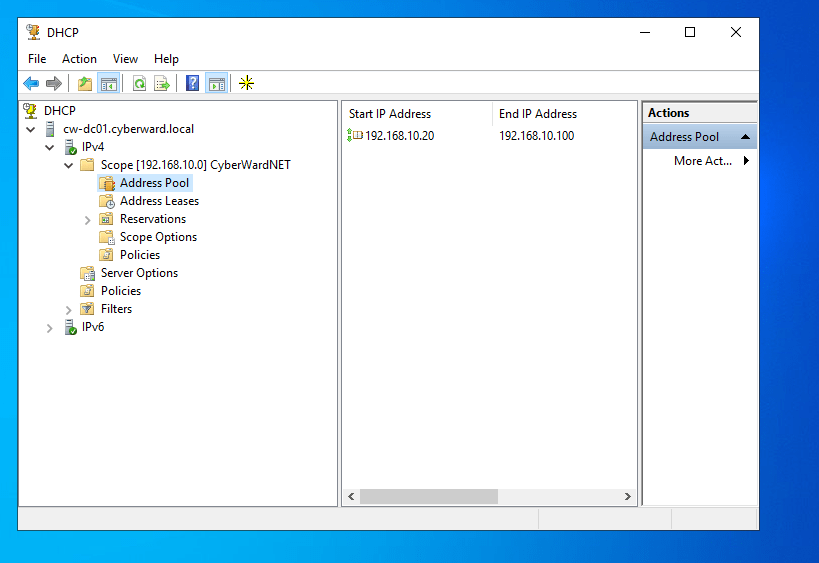
we can check if its authorized by right click on the domain
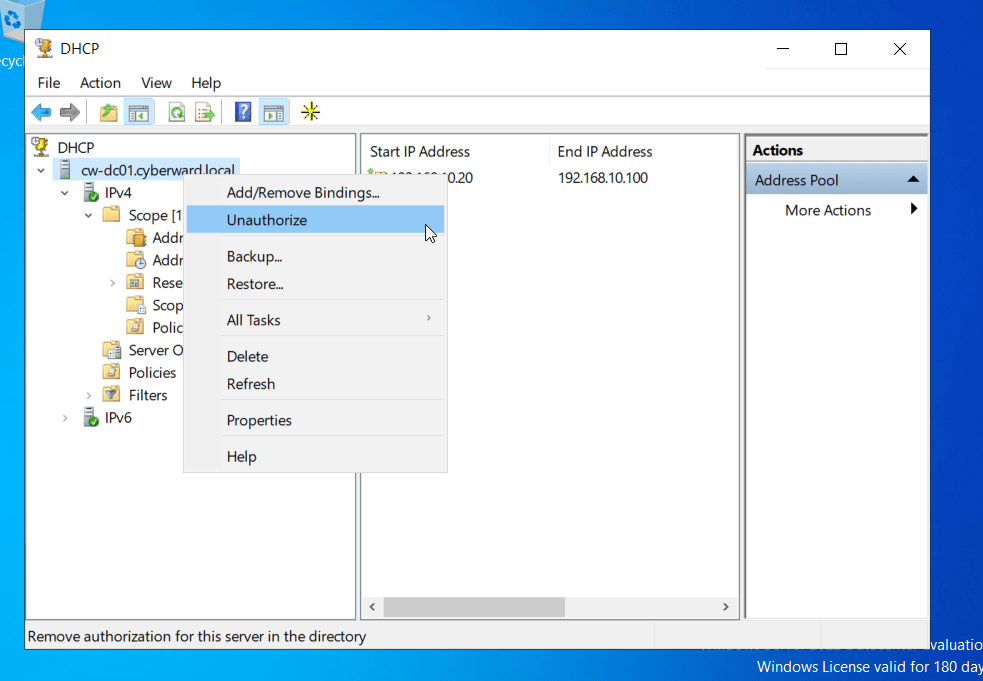
with this, the DHCP server now is set and configured.
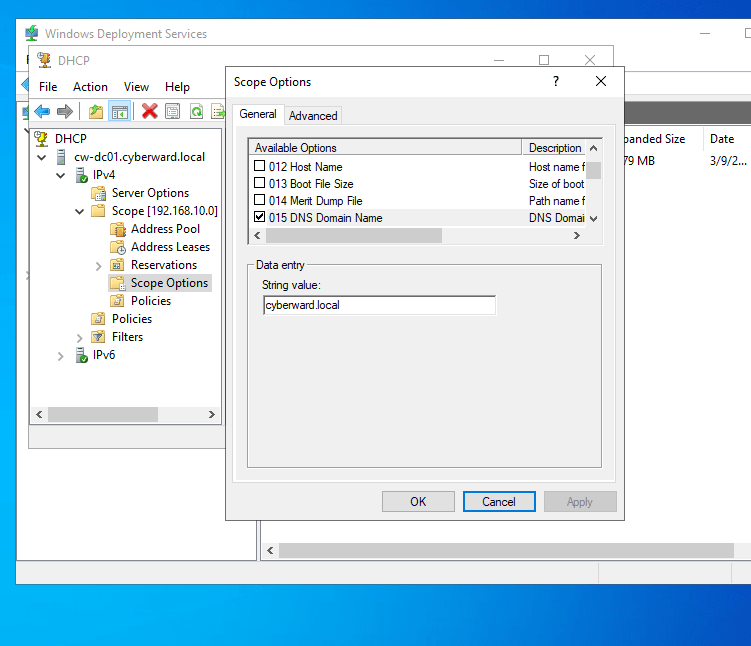
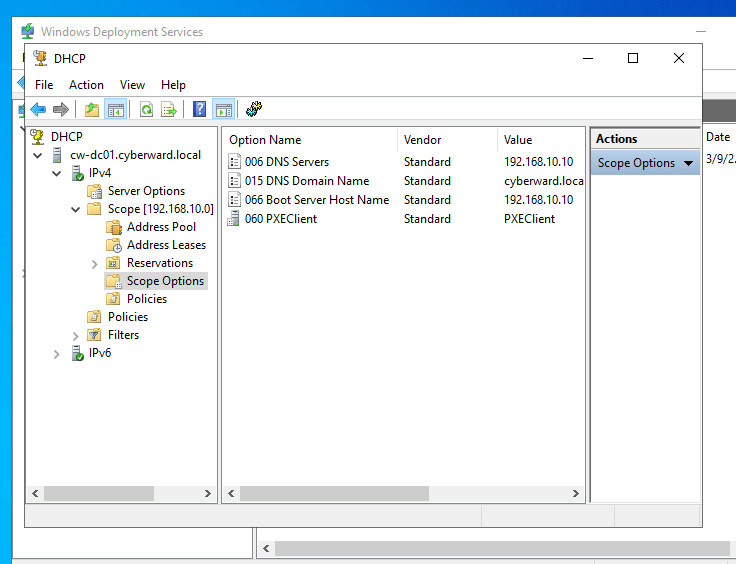
Configure DHCP for PXE Boot
Since DHCP is on your DC:
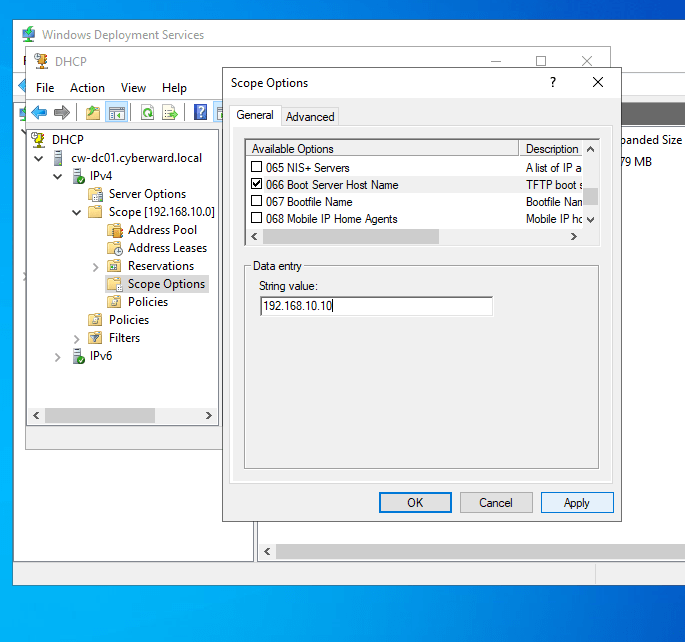
- Open DHCP → Server Options
- Option 60: PXEClient → check
- Option 66: Boot Server Hostname → IP of WDS server (your DC)





 CYBERWARD
Leave a comment