Deploying Windows operating systems across multiple computers can be a time-consuming and error-prone task—especially in organizations with many workstations. This is where Windows Deployment Services (WDS) comes in. WDS is a Microsoft server role that allows IT administrators to remotely deploy Windows operating systems over a network, streamlining installations, ensuring consistency, and saving hours of manual setup.
In this lab, I’ll walk you step by step through the process of installing and configuring WDS, so ywe can quickly set up network-based Windows deployments and make system provisioning faster, easier, and more reliable.
Step 1: Install WDS Role on the Domain Controller
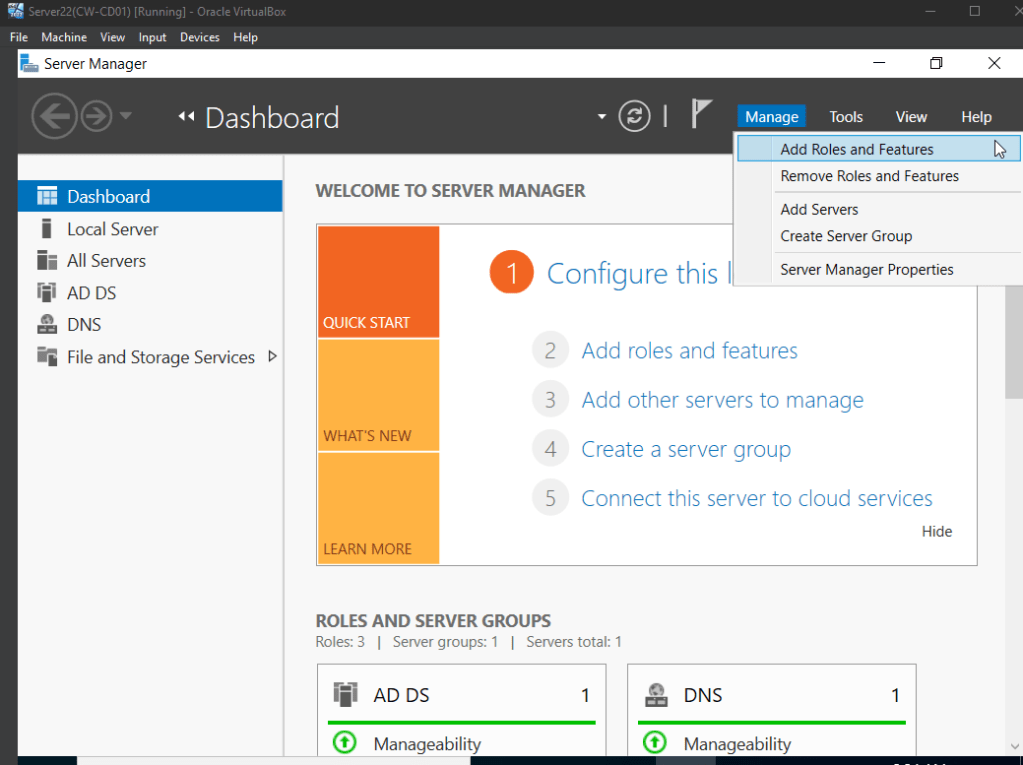
Open Server Manager → Add Roles and Features
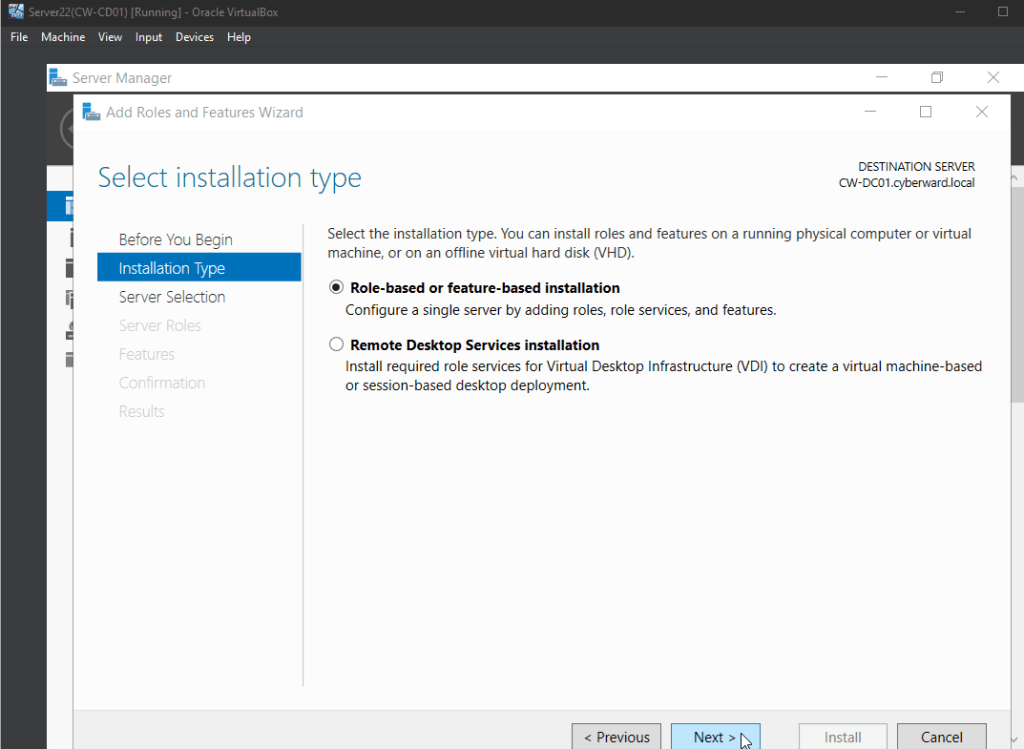
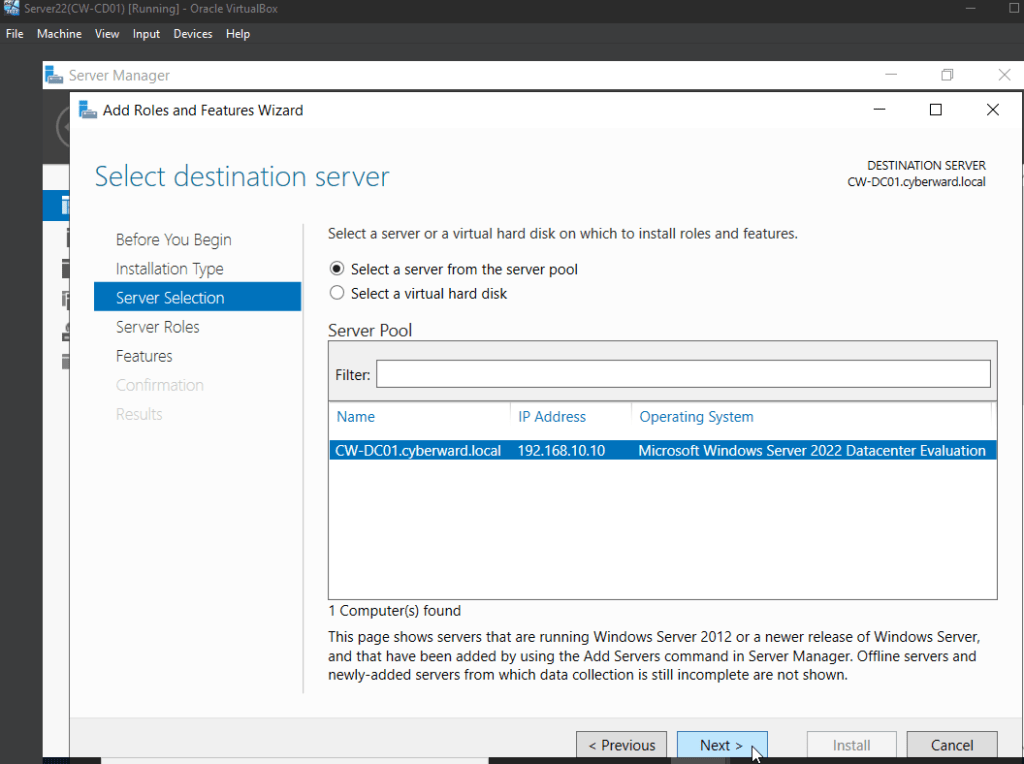
Role-based installation → Select your server
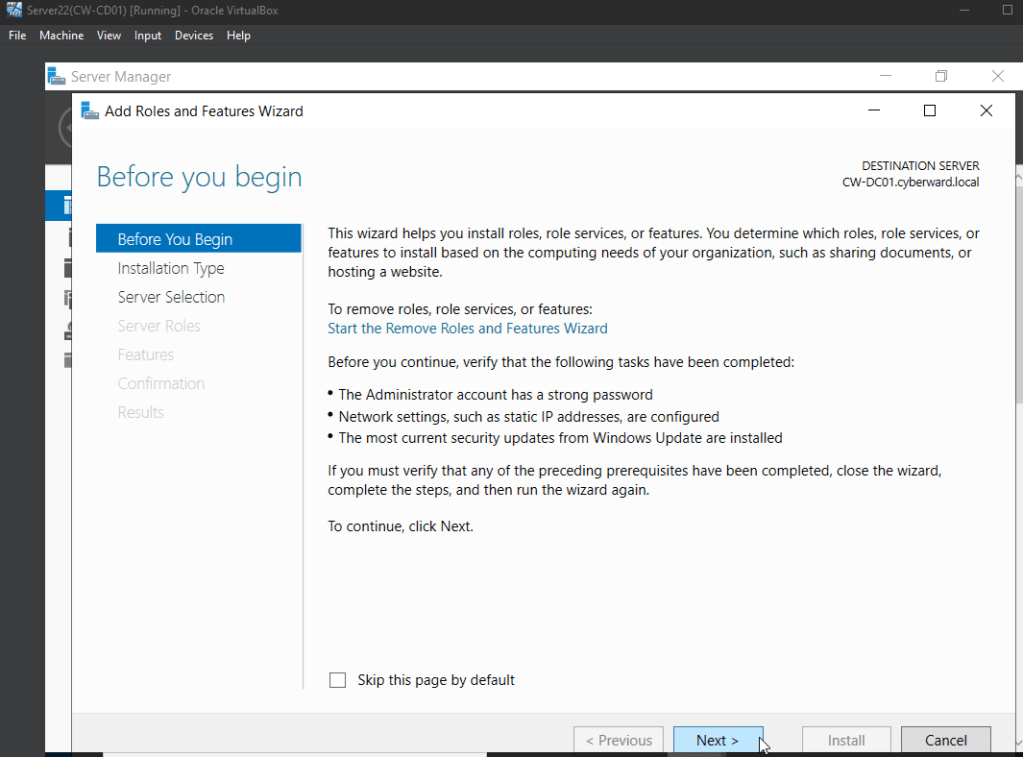
Under Roles, select Windows Deployment Services
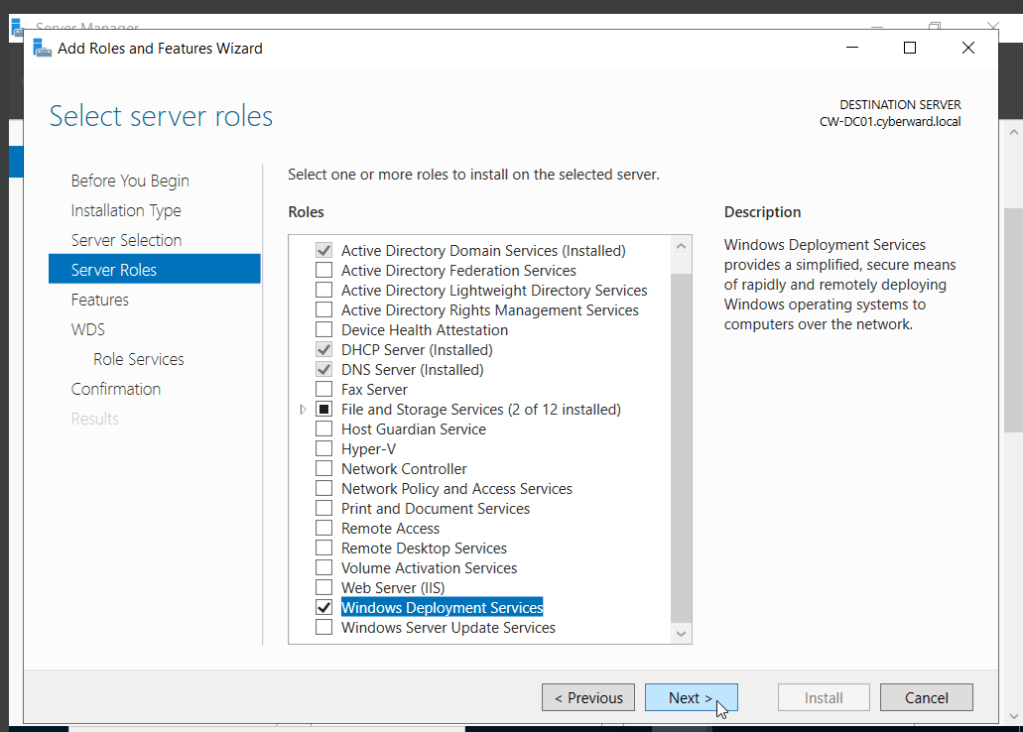
Add management tools when prompted
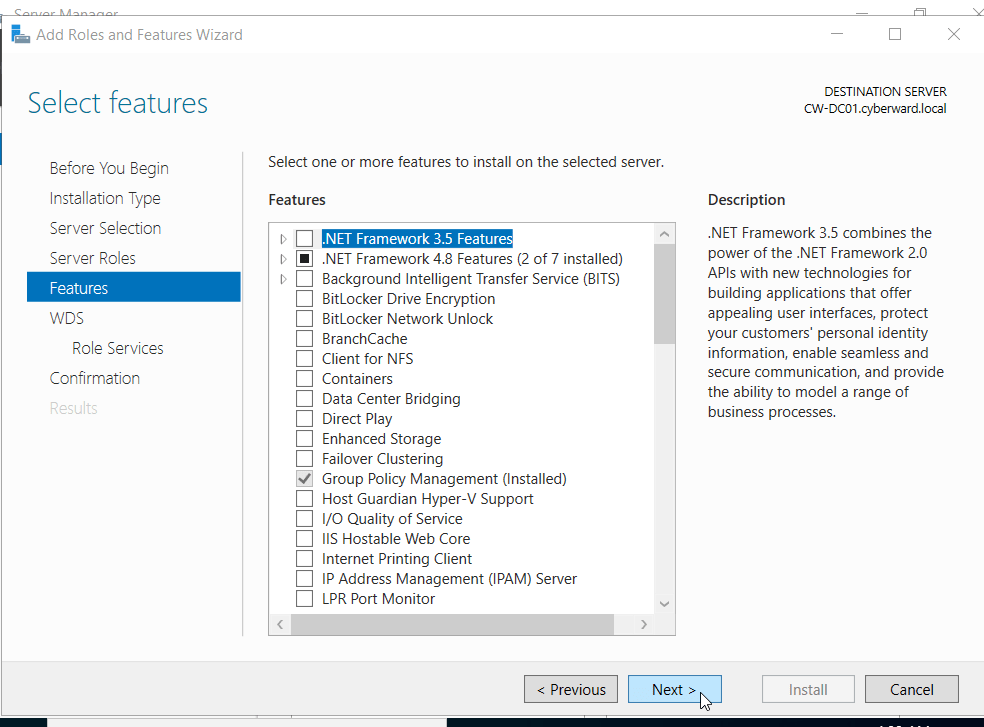
Complete installation
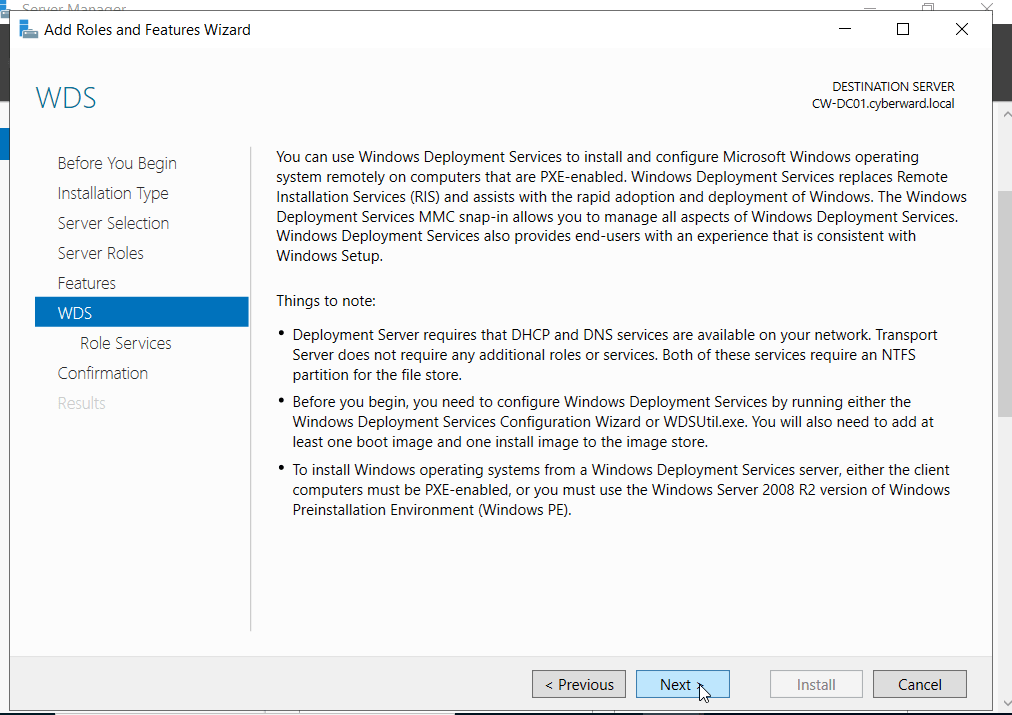
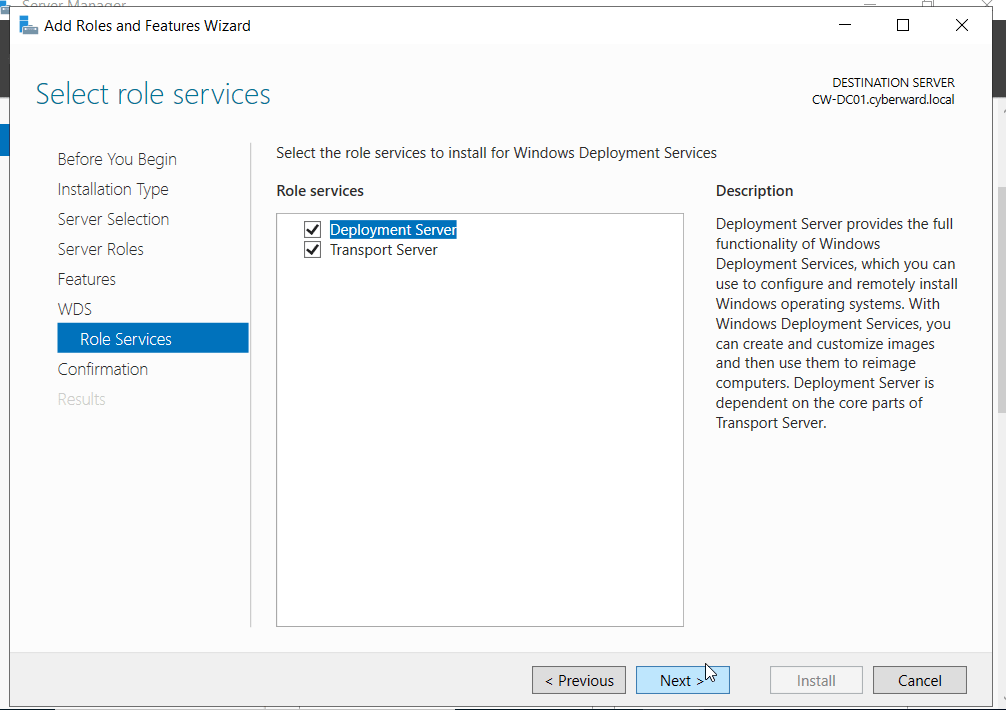
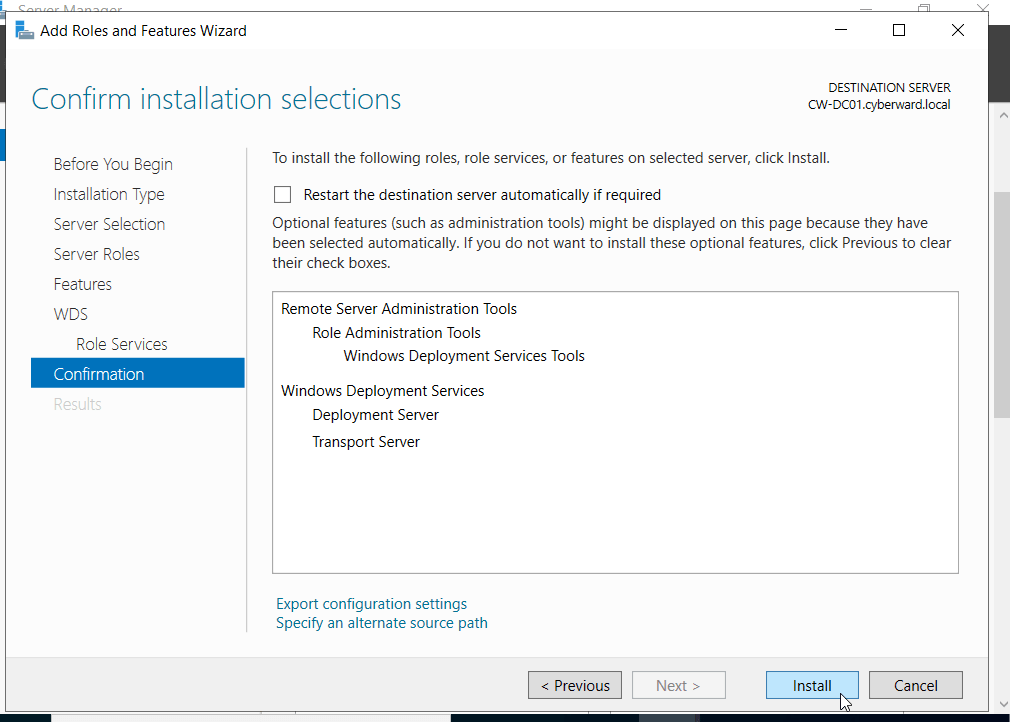
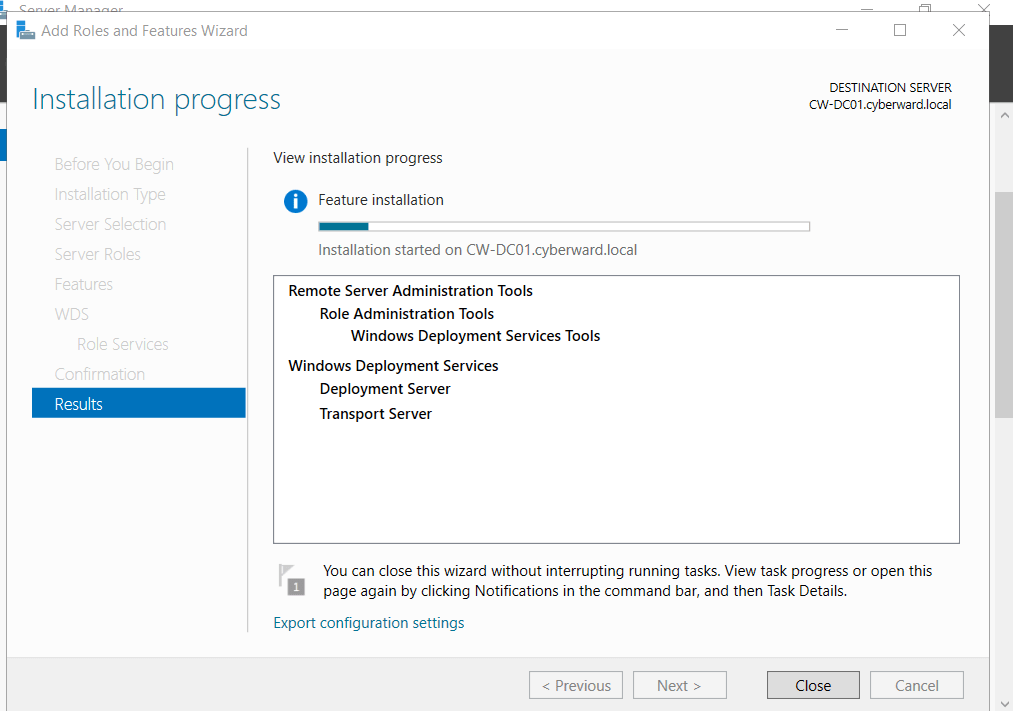
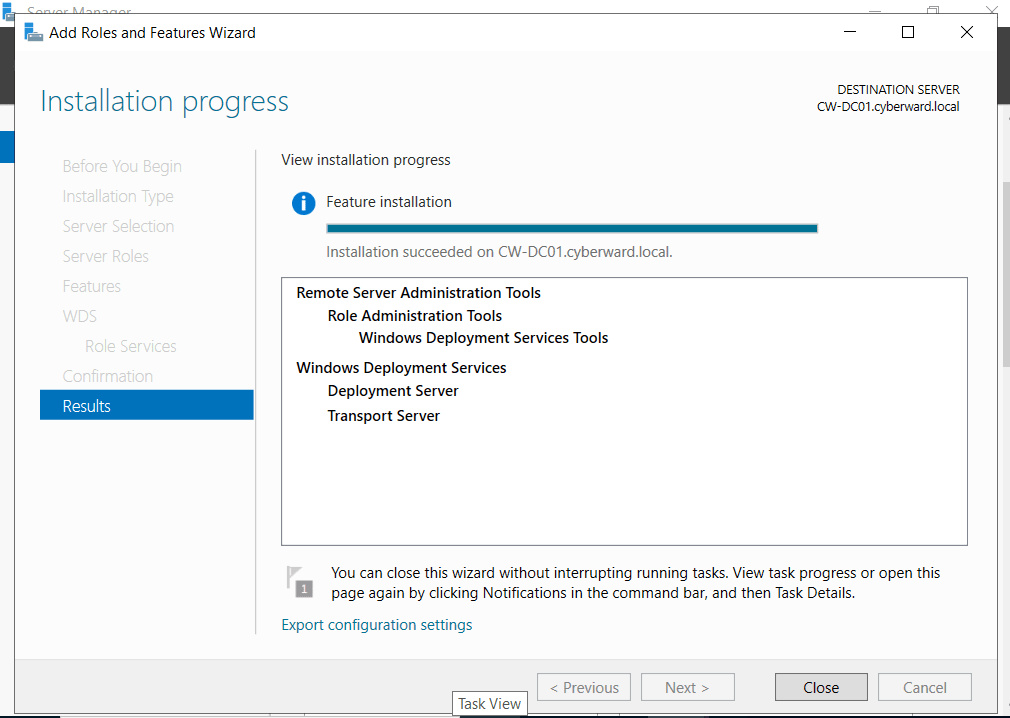
Step 2 – Configure WDS
- Open Windows Deployment Services from Tools menu
- Right-click Servers → YourServer → Configure Server
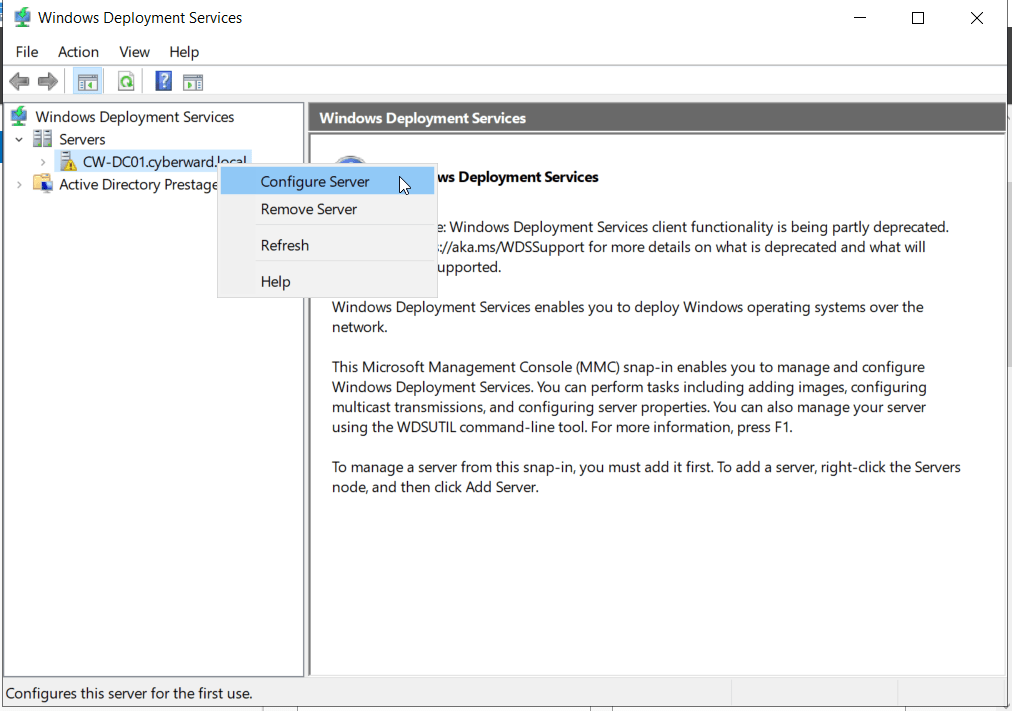
- Options:
- Integrated with AD DS → Yes
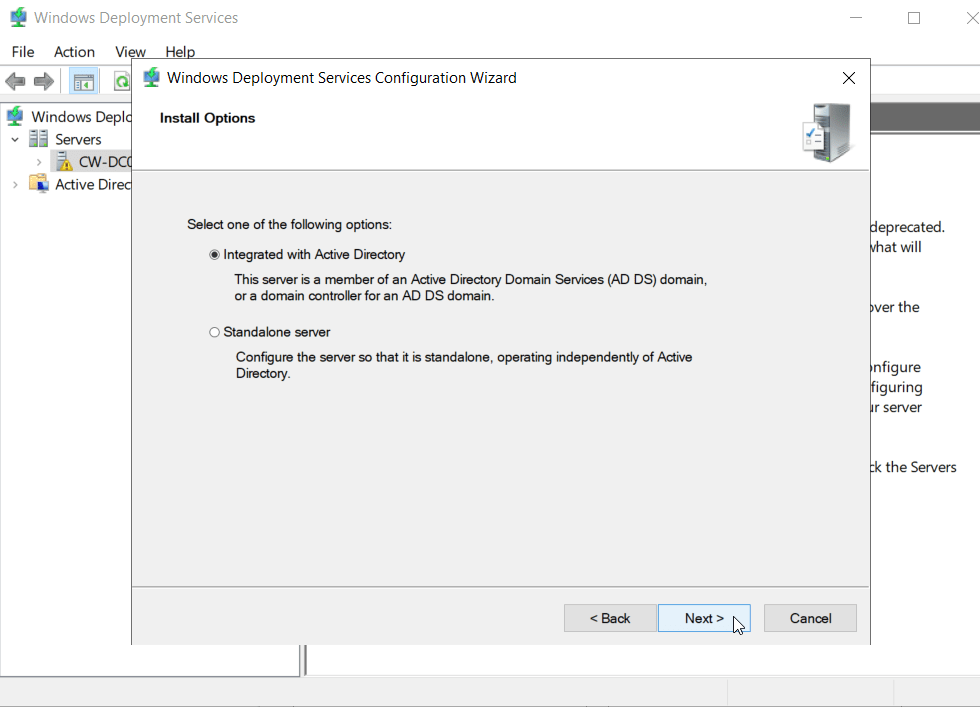
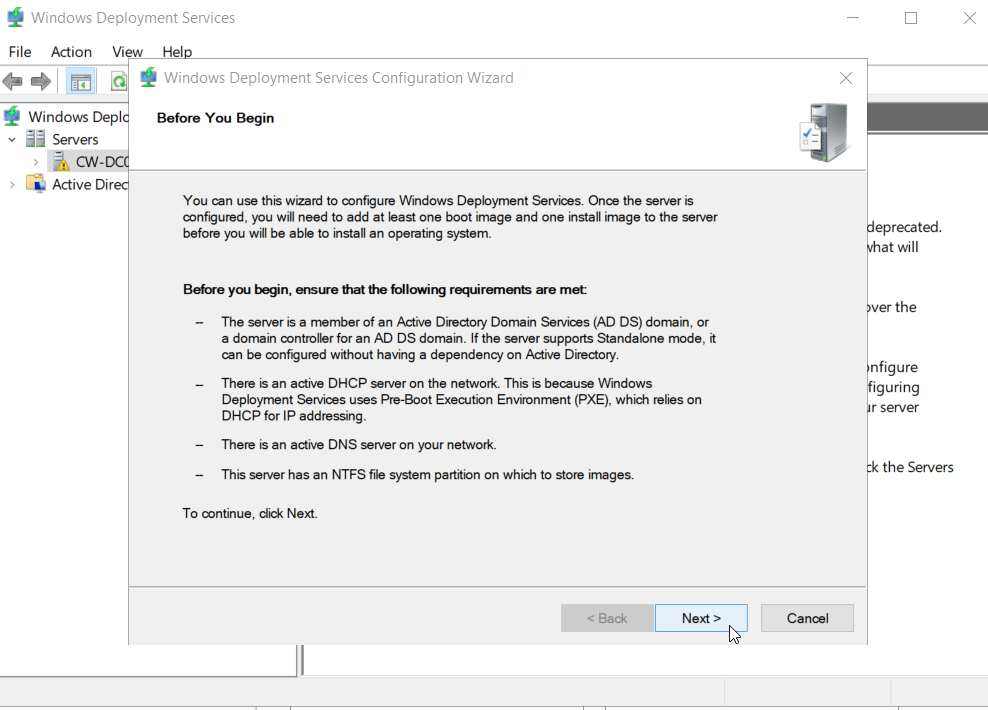
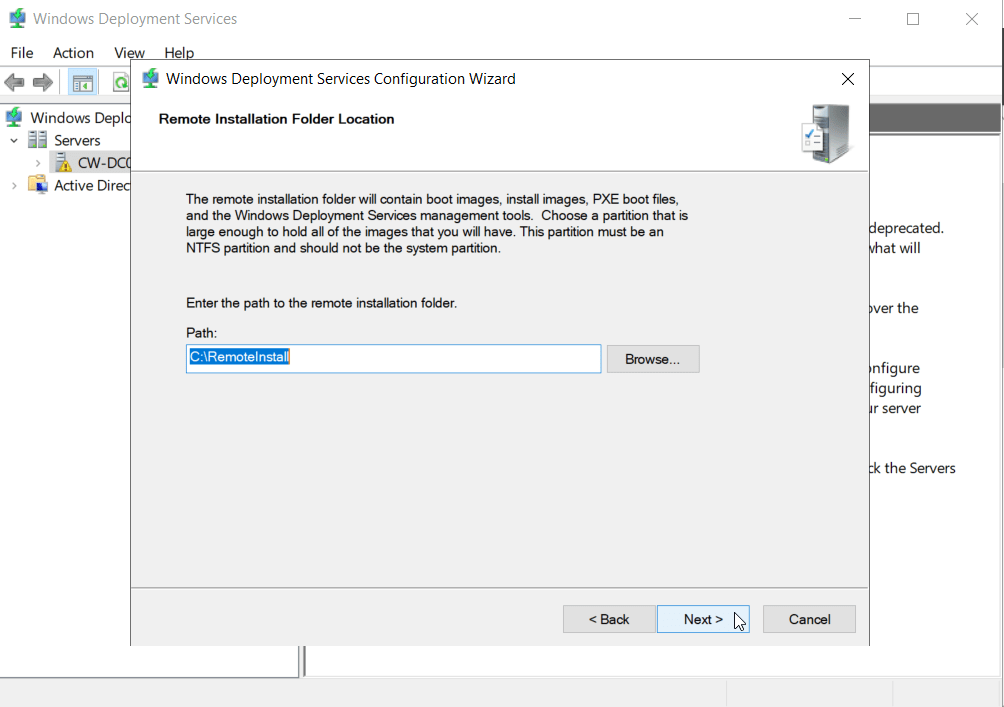
- Remote installation folder → e.g.,
D:\RemoteInstall
- Respond to client computers ( known & unknown)
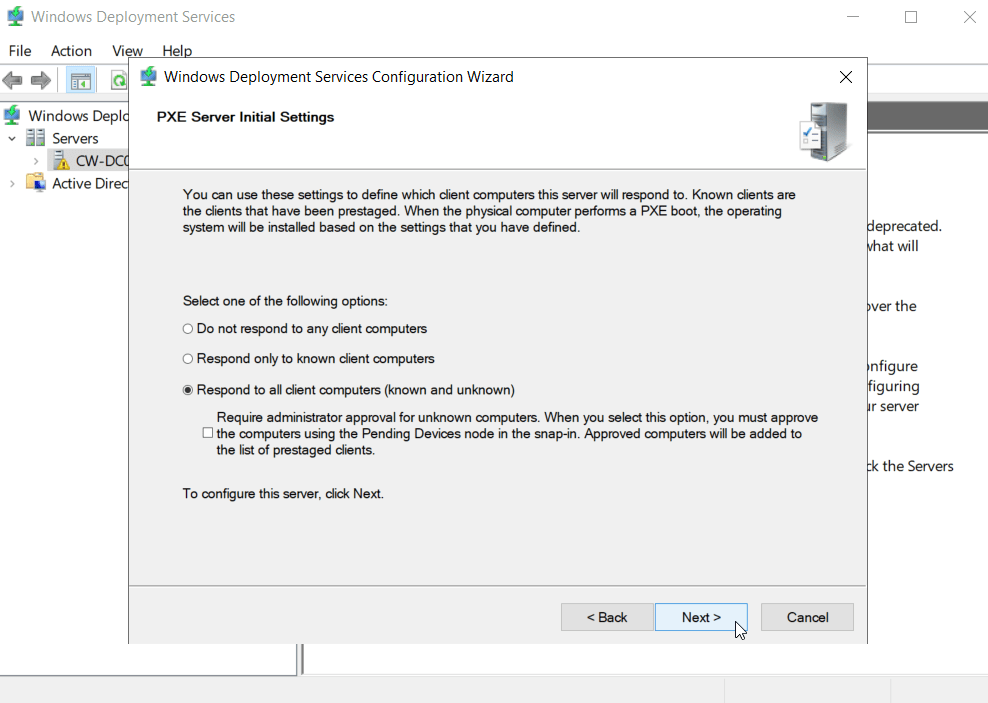
- Finish configuration
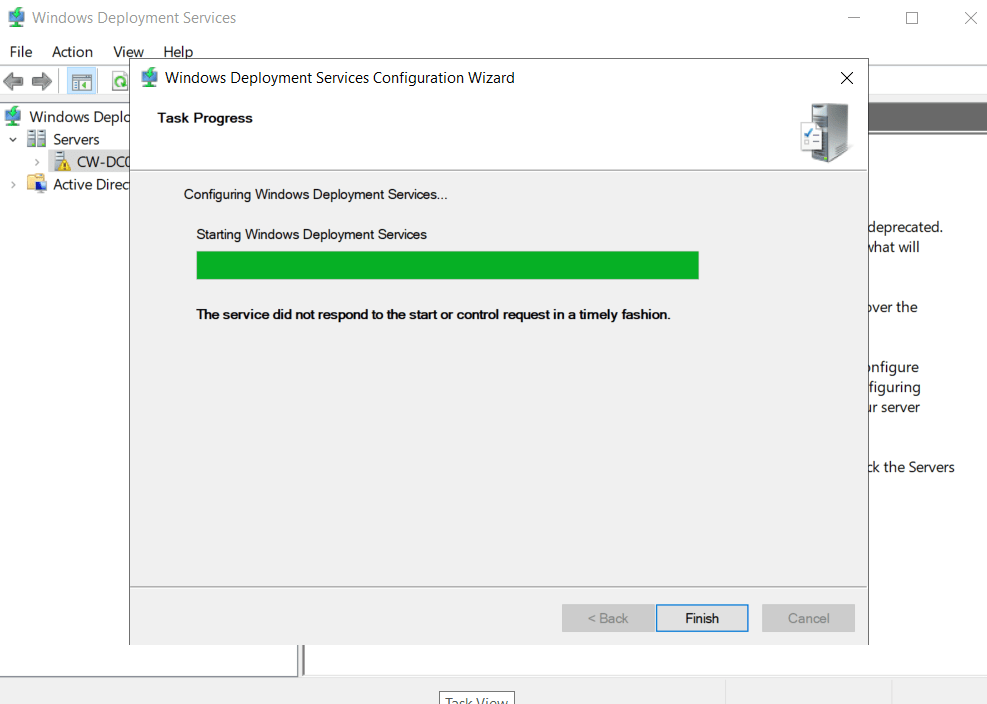
Step 3 – Add Boot Image (Windows PE)
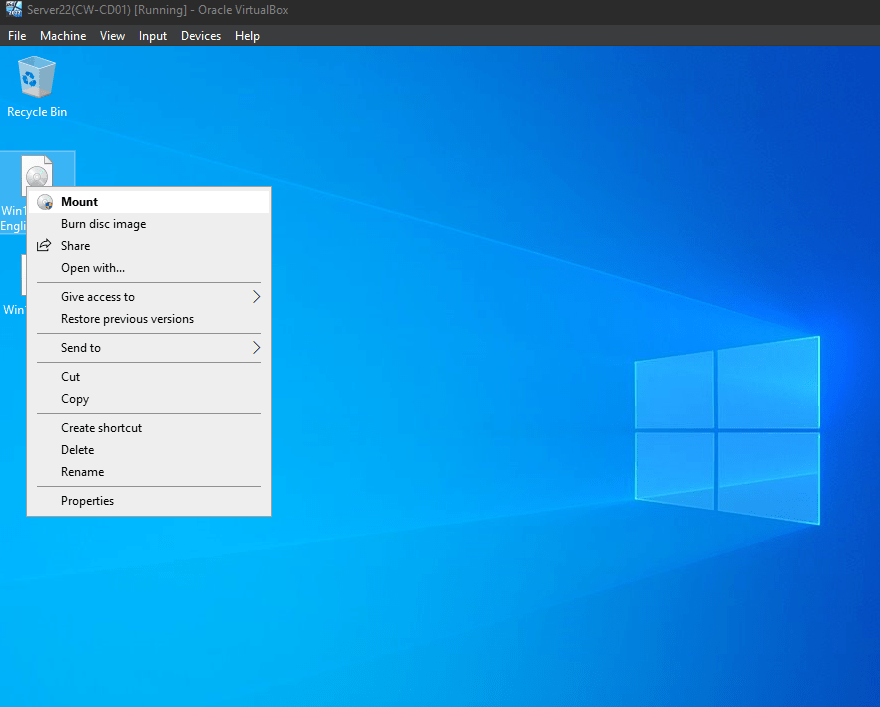
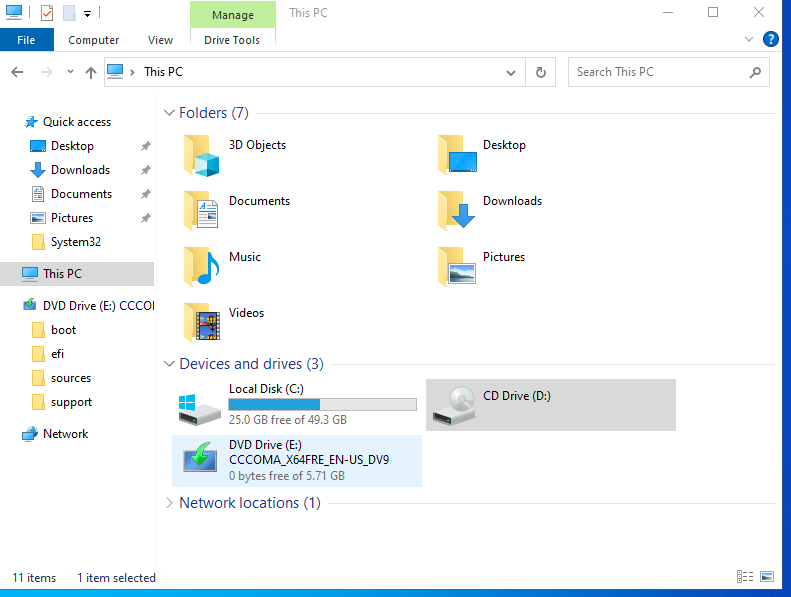
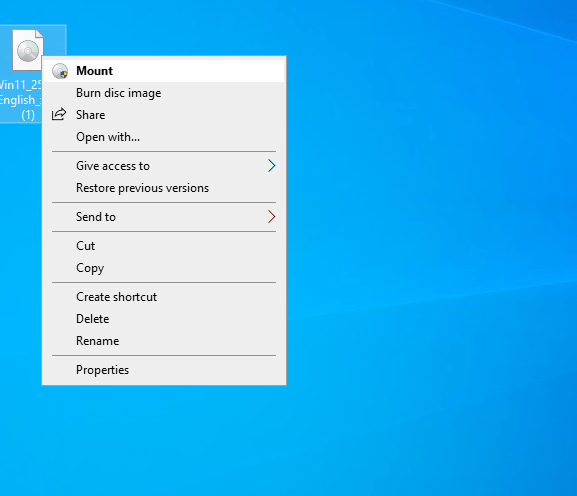
Mount your Windows 11 ISO on the server
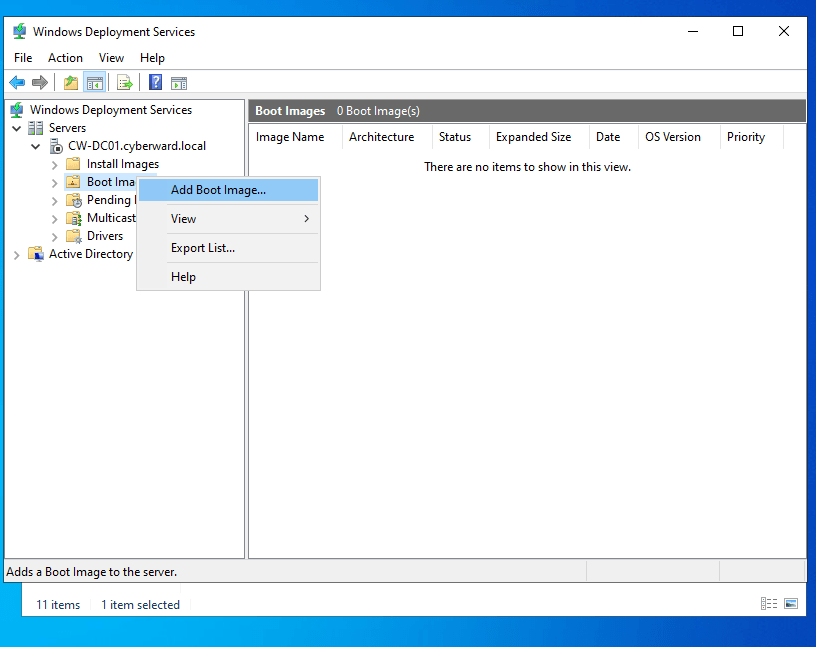
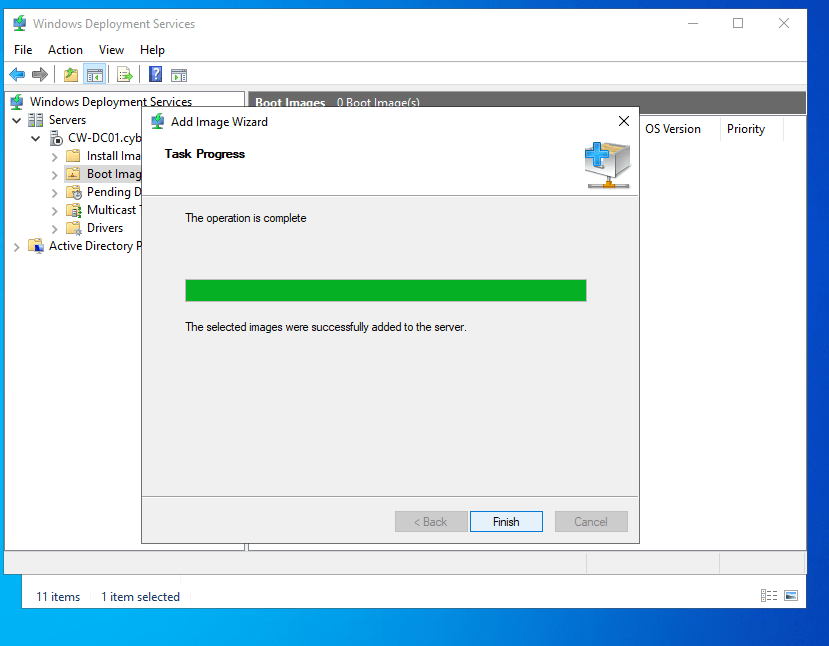
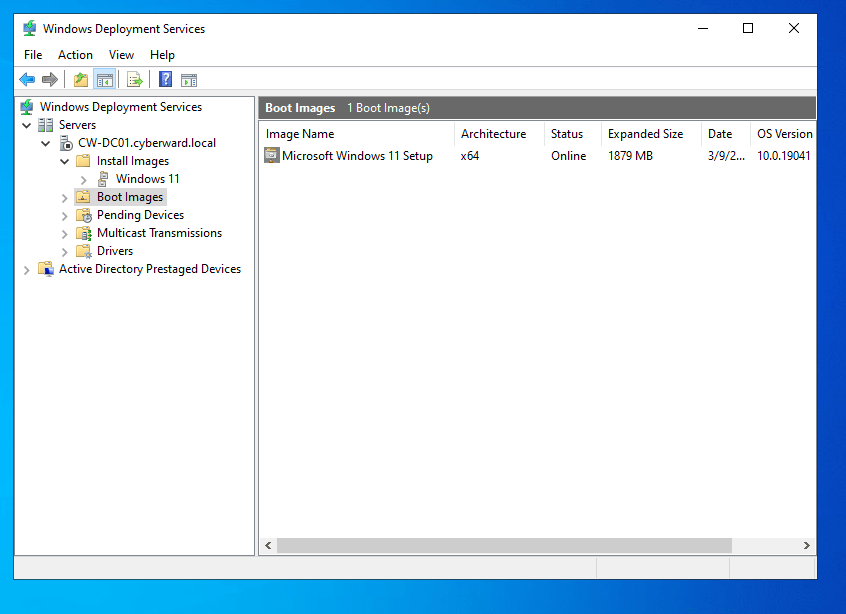
In WDS → Boot Images → Right-click → Add Boot Image
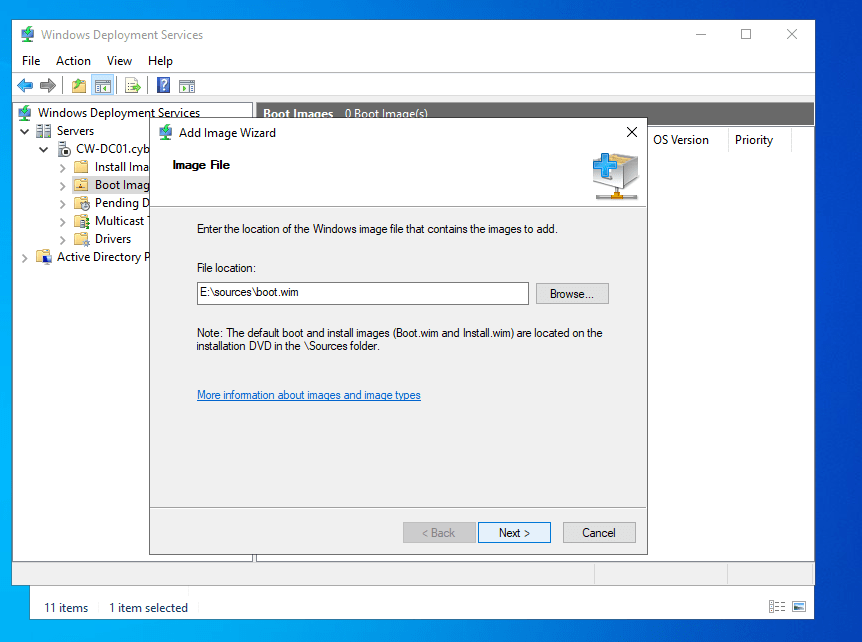
Browse to ISO → sources\boot.wim
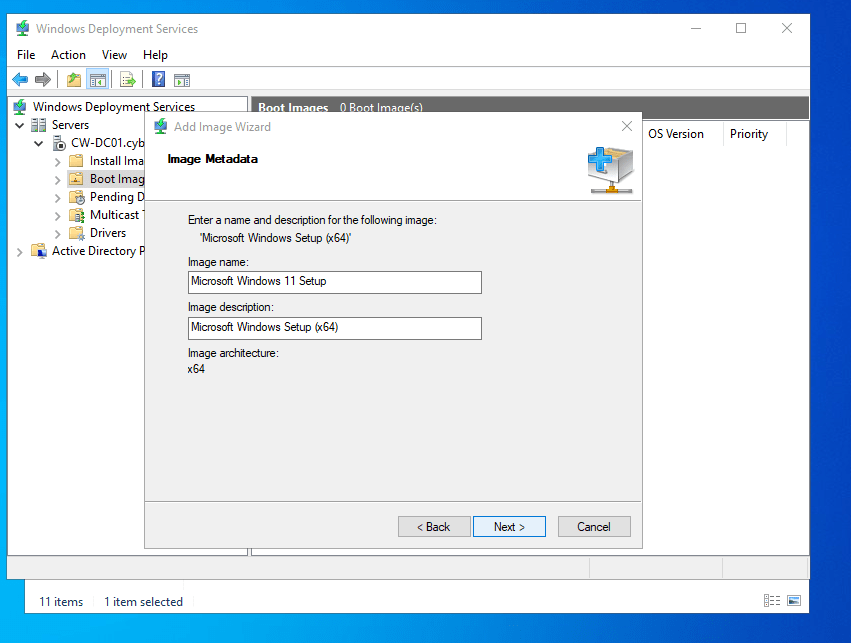
Give it a name → e.g., Microsoft Windows 11 Setup
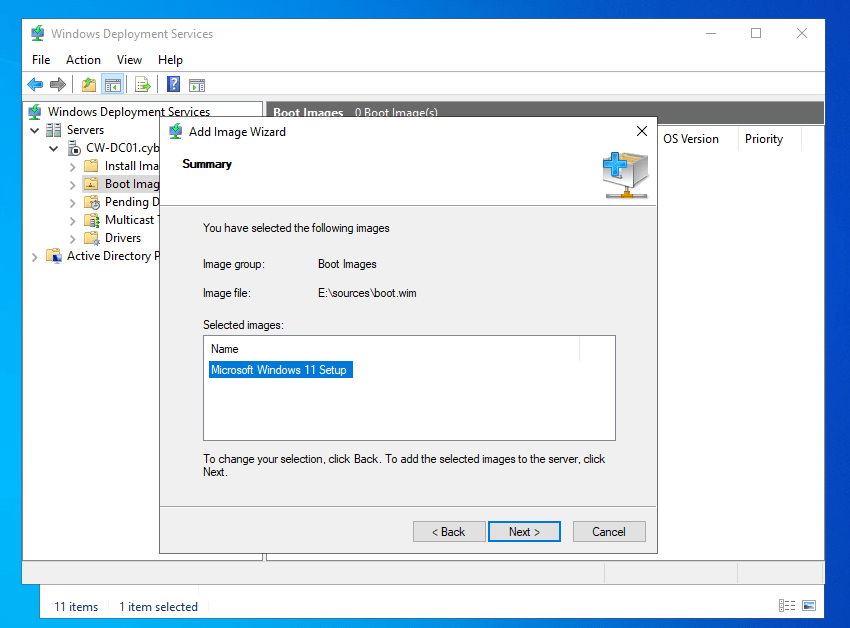
Finish
Step 4– Add Install Image (Windows OS)
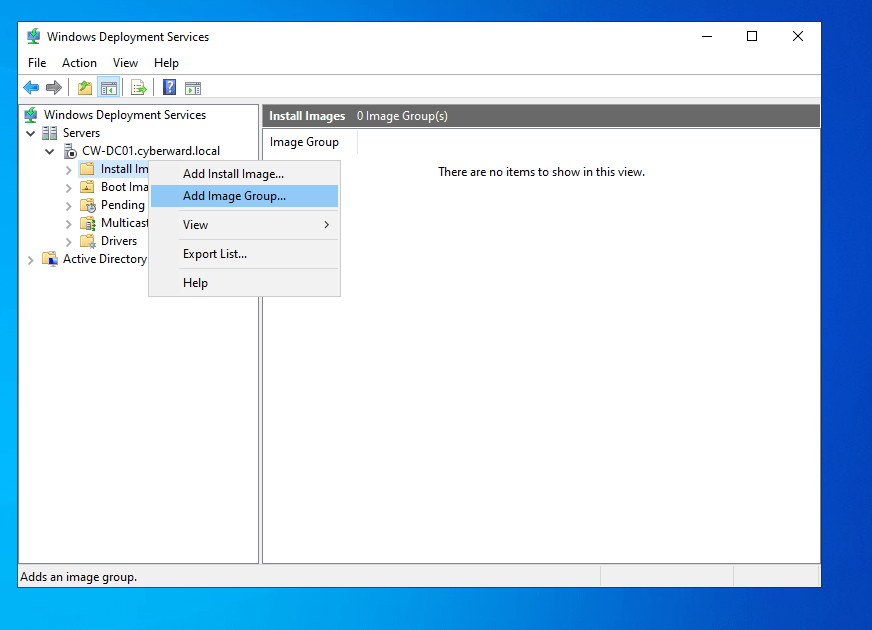
Select install image →right click→Add Image Group → name it: Windows 11
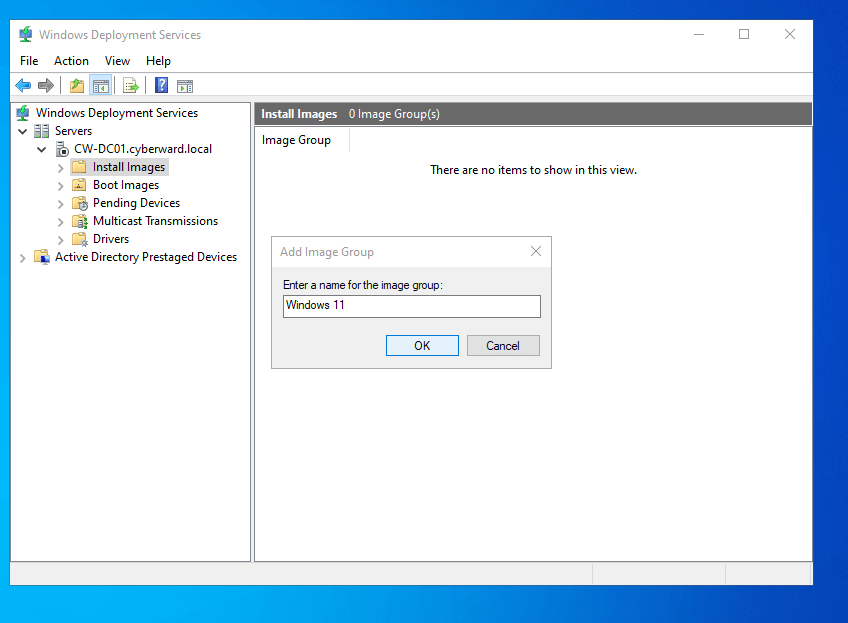
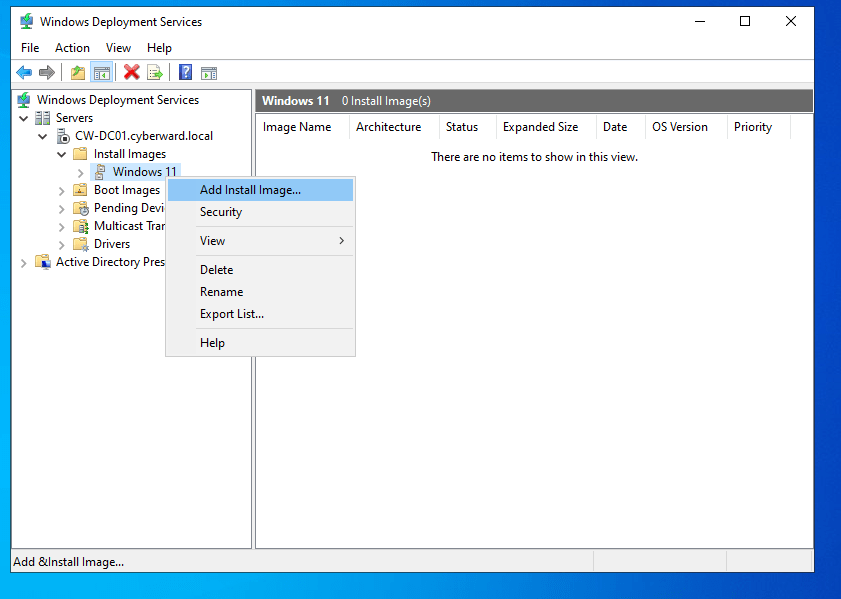
Install Images → Windows 11 group → Add Install Image
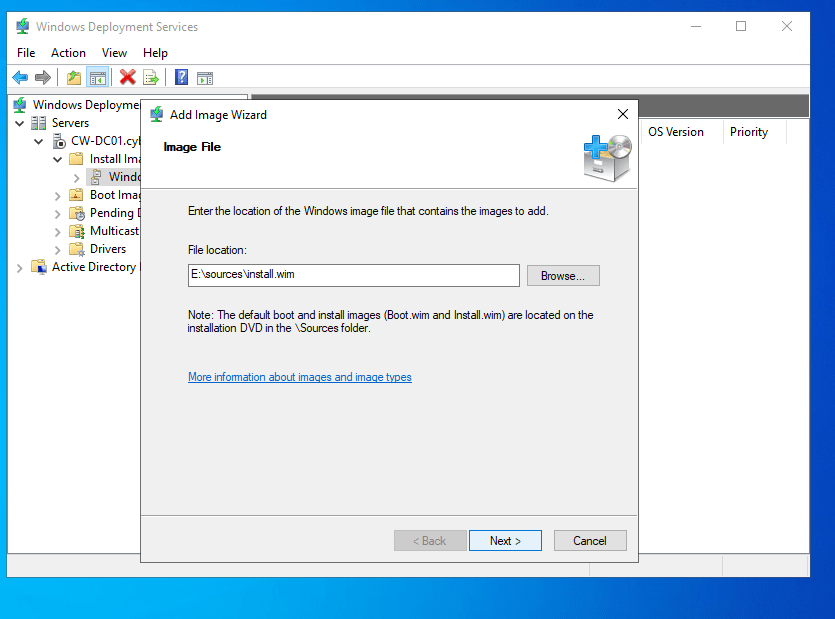
Browse ISO → sources\install.wim
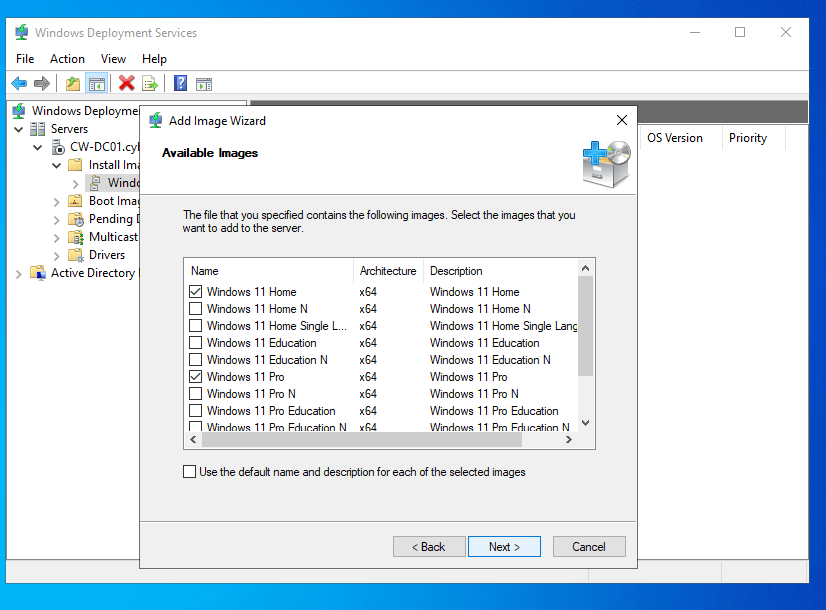
Choose Windows images ( WIndows Home, Windows Pro)
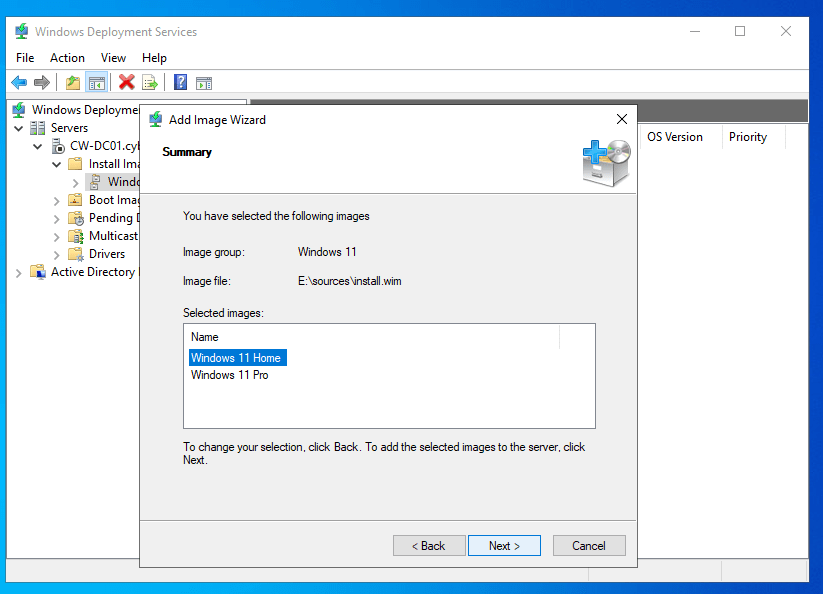
Finish
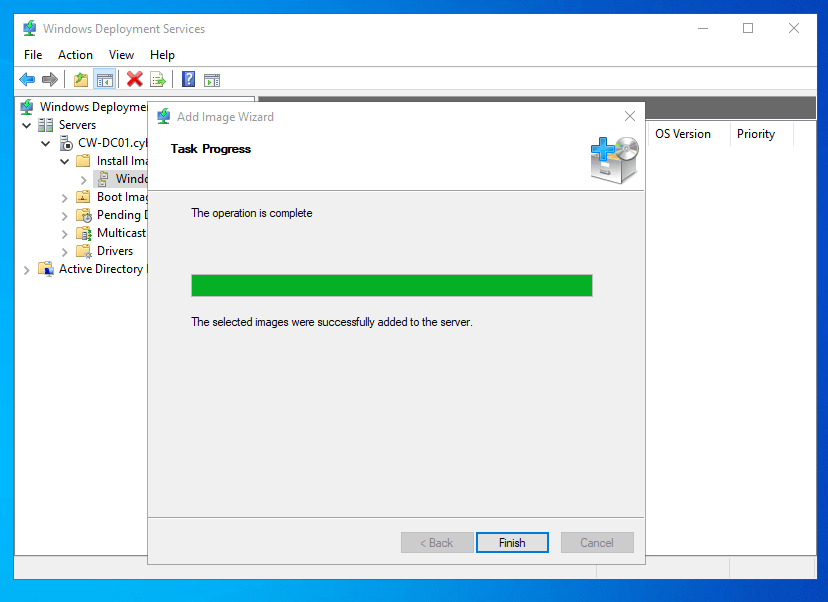
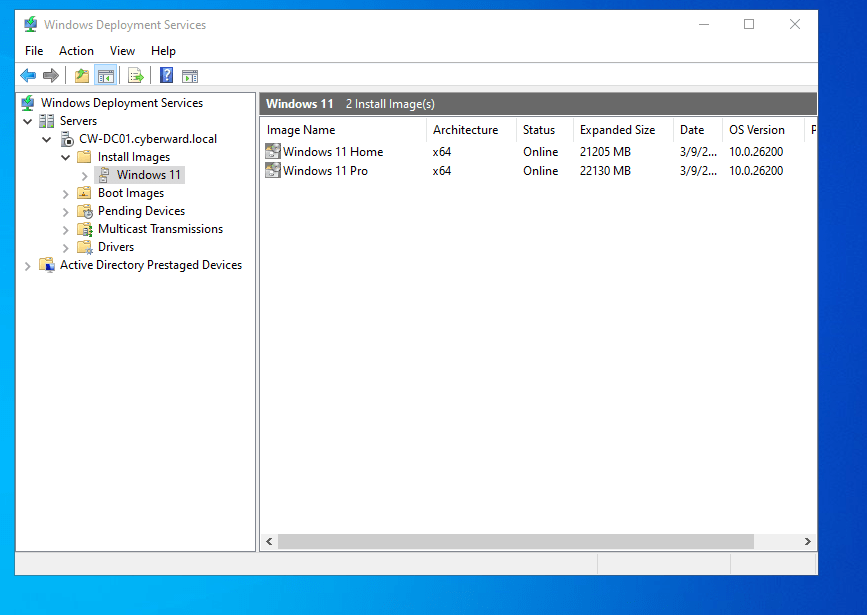
and Windows 11 images are ready to be installed on client machines.





 CYBERWARD
Leave a comment